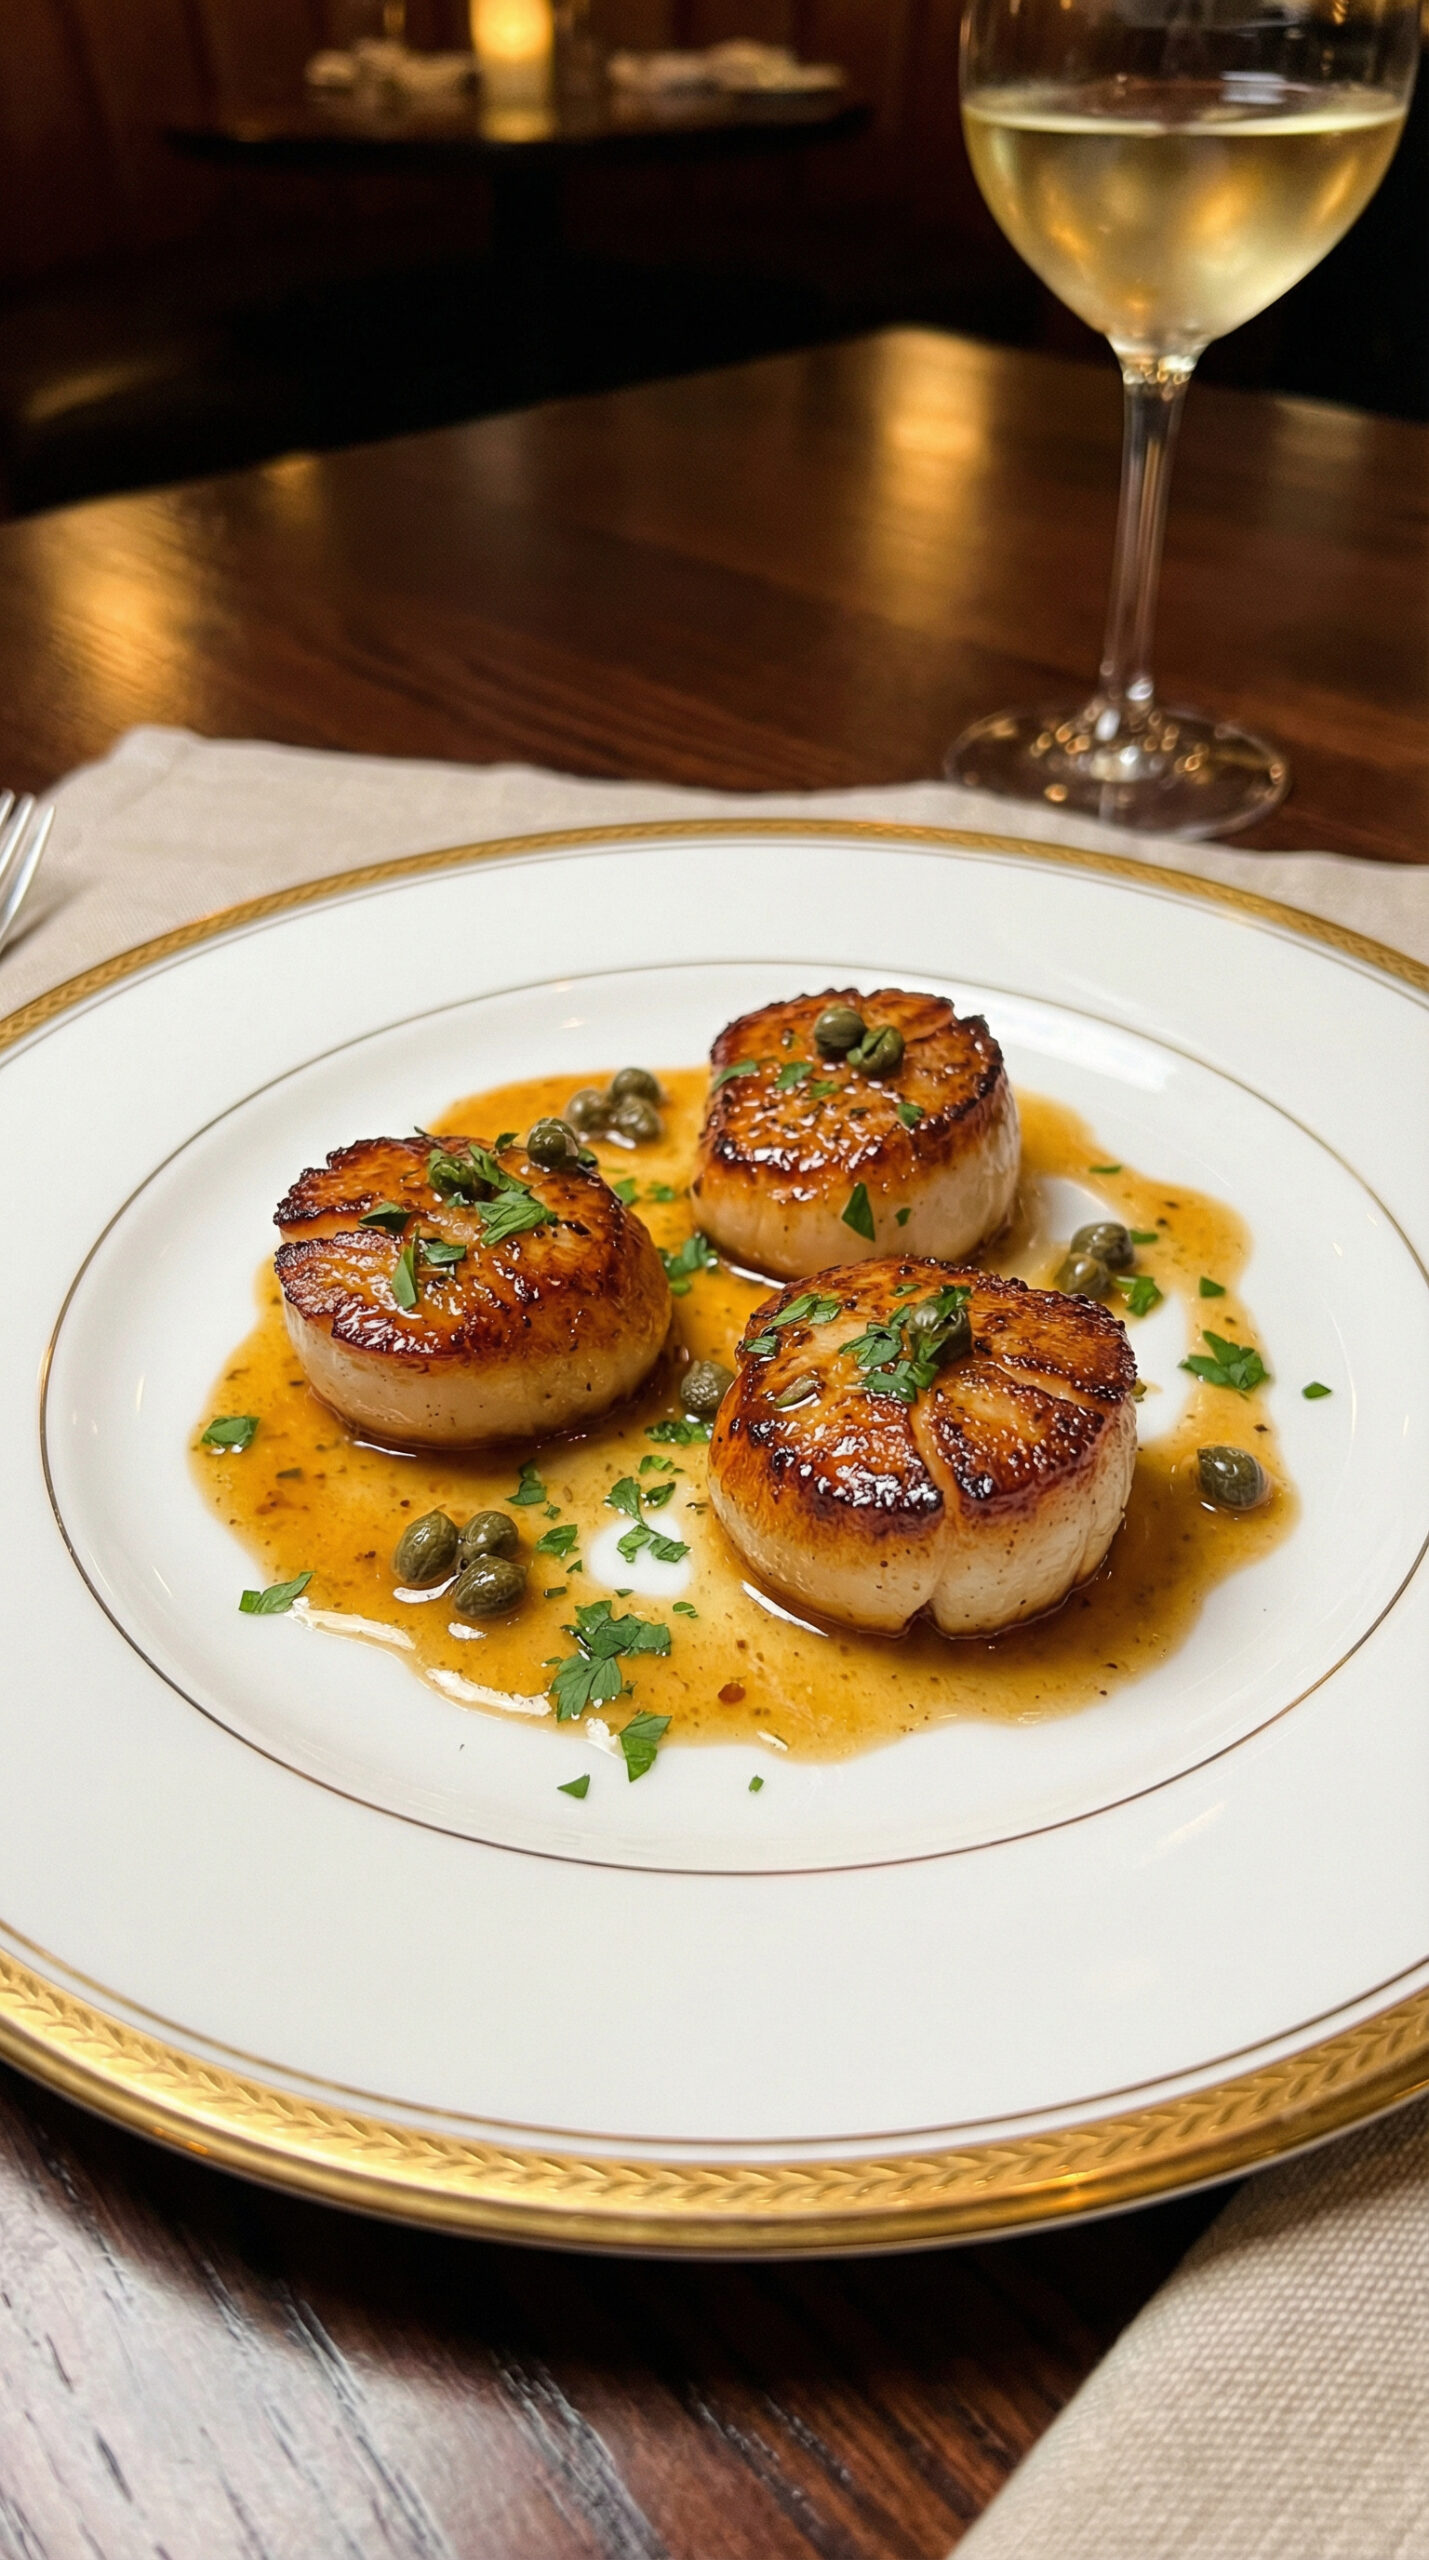
Pan-Seared Scallops with Brown Butter and Capers
Restaurant-quality seared scallops come down to two things: dry scallops and a screaming hot pan. Get those right, and you will achieve that coveted golden-brown crust in just 2 minutes per side. The brown butter sauce with capers and lemon adds briny, nutty richness that elevates this simple protein into something extraordinary. This elegant dish is a stunning Valentine’s Day recipe for a romantic dinner or Galentine’s celebration that looks complex but takes under 15 minutes.
WANT TO SAVE THIS FOR LATER?
We'll email it to you!
We won't send you spam. Unsubscribe at any time.
Why You’ll Love It
- Ready in 15 minutes from start to finish
- Just five main ingredients
- The searing technique works every time once you understand it
- Brown butter is faster than making a traditional sauce
- Light enough for a first course or substantial enough for a main
Ingredients
For the Scallops:
- 1 pound dry-packed sea scallops (about 12-16 scallops, U-10 or U-15 size)
- 1 tablespoon vegetable oil or avocado oil
- Kosher salt
- Freshly ground black pepper
For the Brown Butter Sauce:
- 4 tablespoons unsalted butter
- 2 tablespoons capers, drained and patted dry
- 2 tablespoons fresh lemon juice (about 1 lemon)
- 1 tablespoon fresh parsley, chopped
Steps
- Prepare the scallops. Remove the small side muscle from each scallop if still attached. It is a small, tough tab on the side that pulls off easily. Place scallops on a plate lined with paper towels. Place another layer of paper towels on top and press gently. Let them sit for 10 minutes. Then replace the paper towels and press again. Dry scallops are essential for browning. Any moisture creates steam instead of a sear.
- Heat the pan. Heat a large stainless steel skillet or cast iron skillet over high heat for 2-3 minutes until very hot. The pan must be hot enough that water droplets sizzle and evaporate instantly on contact.
- Season the scallops. Season the scallops with salt and pepper on both flat sides just before cooking. Do not season too early, as salt draws out moisture.
- Add oil and sear. Add the oil to the hot pan. It should shimmer immediately. Working quickly, place scallops in the pan one at a time, flat side down, leaving at least 1 inch of space between them. Do not crowd the pan. Work in batches if necessary. Cook undisturbed for 2 minutes. Do not move or peek under them.
- Check the sear. After 2 minutes, lift one scallop to check. It should have a deep golden-brown crust. If it is pale, give it another 30 seconds. The scallop should release easily from the pan when ready.
- Flip and finish. Flip each scallop using a fish spatula or tongs. Sear the second side for 1.5-2 minutes. The center should be slightly translucent when done. Scallops continue cooking after removal, so pull them just before they look fully cooked. Transfer immediately to a plate.
- Make the brown butter. Reduce heat to medium. Add the butter to the same pan. It will foam and sizzle. Swirl the pan occasionally. Watch carefully as the milk solids sink and begin to toast. The butter will turn golden, then amber, and develop a nutty aroma. This takes 2-3 minutes. The moment it smells toasty and looks amber with brown specks, move to the next step. Brown butter burns quickly once it hits the right color.
- Add capers and lemon. Remove pan from heat. Add the dried capers. They will sputter, so stand back. Add the lemon juice carefully, as it will bubble vigorously. Stir to combine, scraping up any browned bits from the scallops.
- Plate and serve. Arrange scallops on warm plates. Spoon the brown butter and capers over the top. Garnish with parsley. Serve immediately.
Helpful Tips and Substitutions
Dry-packed vs. wet-packed scallops: This is the most important factor in your success. Dry-packed scallops have not been treated with sodium tripolyphosphate (STP), a chemical that makes them absorb water and appear plumper. Wet-packed scallops will never sear properly because they release too much liquid. Ask your fishmonger specifically for dry-packed or look for the label. Dry-packed scallops smell sweet and briny. Wet-packed scallops often smell slightly chemical and sit in milky liquid.
What is U-10 or U-15? This refers to the count per pound. U-10 means under 10 scallops per pound, making them large. U-15 means under 15 per pound, still substantial. Larger scallops are easier to sear without overcooking.
Why stainless steel or cast iron? Nonstick pans do not get hot enough to create a proper sear. The scallops will cook through but remain pale. The crust requires direct contact with extremely hot metal.
Crowding the pan: If you place scallops too close together, they steam instead of sear. Cook in two batches if your pan is smaller than 12 inches.
Brown butter troubleshooting: If your butter goes from amber to black, it has burned. Discard it and start over. Use fresh butter and watch closely. Once it starts browning, it moves fast.
Caper alternatives: Chopped green olives or drained sun-dried tomatoes add similar briny notes.
Serving Ideas
Serve as an appetizer for 4 or a main course for 2.
For a composed plate, serve over risotto, polenta, or a bed of creamy white bean puree.
Pair with a simple green salad dressed with lemon vinaigrette to complement the butter sauce.
Roasted asparagus or sautéed spinach make excellent side vegetables.
Pour a crisp white wine: Muscadet, Chablis, or Sauvignon Blanc cuts through the richness of the brown butter.
Make-Ahead and Storage
Prep ahead: Remove the side muscles and dry the scallops up to 2 hours before cooking. Keep them refrigerated on a paper towel-lined plate, uncovered.
Brown butter: Make brown butter ahead and store in the refrigerator for up to 1 week. Reheat gently before adding capers and lemon.
Leftovers: Seared scallops are best eaten immediately. Reheating causes them to become rubbery. Cold leftover scallops can be sliced and added to salads.
Not freezer-friendly: Do not freeze cooked scallops. Fresh scallops can be frozen raw but should be thawed completely and dried thoroughly before searing.
Simple Done Right
Scallops are proof that simple cooking is not the same as easy cooking. The technique is basic, but the execution requires attention. Dry your scallops obsessively. Get the pan ripping hot. Do not touch them until they are ready to flip. Master these principles, and you will produce scallops that rival any restaurant—in your own kitchen, in under 15 minutes.
WANT TO SAVE THIS FOR LATER?
We'll email it to you!
We won't send you spam. Unsubscribe at any time.