Сamping Organization Checklist & How to Set Up a Campsite
Setting up camp can be dreamy or… chaotic. The difference? A simple plan, a few smart habits, and gear that actually pulls its weight. Whether it’s your first camp weekend or you’ve already earned your “I can pitch a tent in the dark” badge, this guide walks you through the exact steps I use to build a cozy, organized basecamp that feels like a tiny outdoor home.
Step 0: Dial in Your Gear Before You Leave
The best campsite starts at your living room floor. Lay everything out and do a fast but ruthless check.
Essentials to confirm:
- Shelter system: tent, footprint/tarp, stakes (plus 2–4 spares), guylines, mallet.
If you’re upgrading, look at a lightweight tent and a dedicated tent footprint.
- Sleep system: pad (check R-value if it’s chilly), bag (appropriate temp rating), optional liner for warmth/cleanliness.
Sleeping pad, sleeping bag liner.
- Kitchen: stove + fuel, lighter + backup, cook set, utensils, knife, cutting board, wash kit.
Portable camping stove.
- Lighting: 1 lantern for camp + 1 headlamp per person (with fresh charge/batteries).
Rechargeable headlamp,
camping lantern.
- Water: container(s) for hauling and dispensing, plus purification if needed.
Water storage container.
- Coolers: food in one, drinks in another (less opening = colder food).
Camping cooler.
- Safety: first-aid kit, whistle, map/offline maps, sunscreen, bug spray, repair tape.
First aid kit,
repair tape.
Pack by “rooms”: Make a “kitchen” tote, a “bedroom” tote, and a small “utilities” bag (headlamps, batteries, multitool, tape, spare stakes/guylines). For wet/dirty gear, stash a few dry bags.
Car access strategy: Keep tent, rain layers, headlamps, and a warm layer on top. If the sky flips to “drama,” you’re not unpacking your entire trunk to find a rain jacket.
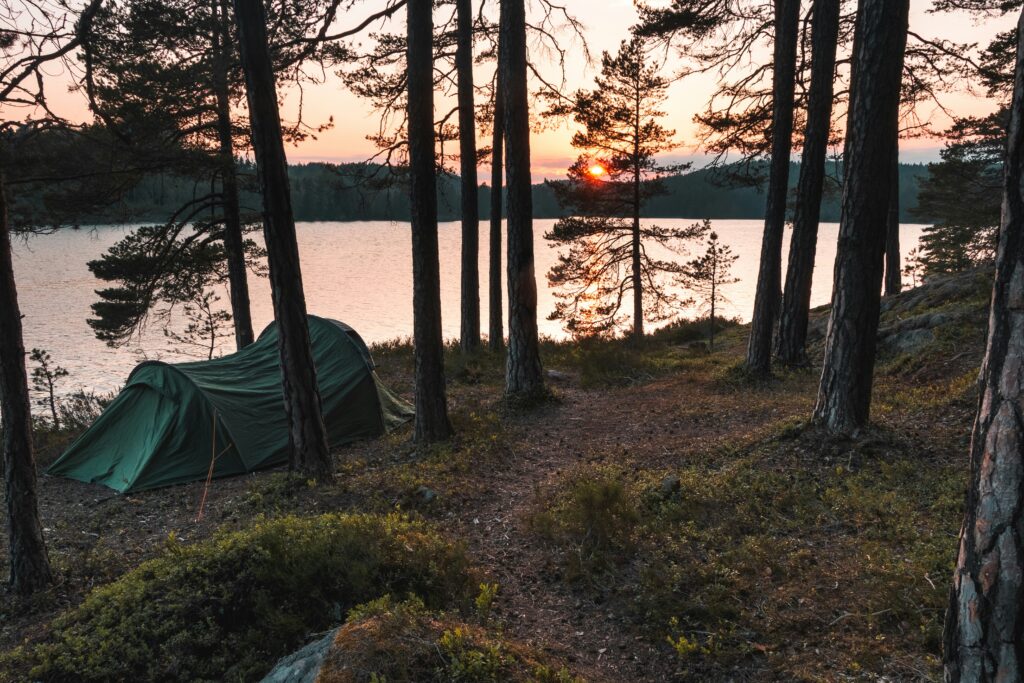
Step 1: Choose a Campsite That Works (Not Just “Looks Cute”)
Flat + durable surface: Avoid dips (they become mini-lakes) and thick vegetation (leave it intact).
Wind + view: Face the tent door toward the view but orient the low side into the wind.
Drainage: If rain threatens, use a slight crown; add your footprint and tighten corners so it doesn’t stick out and channel water under the tent.
Common area: Create a social zone with shade and a natural flow between kitchen → table → fire ring. A simple camping canopy makes a “living room” you’ll actually use.
Pro tip: If bears or critters are common, plan food storage first—bear box if provided, otherwise a bear canister or hard-sided bin stowed properly. Never store food in your tent.
Step 2: Pitch Like a Pro (Fast, Neat, Storm-ready)
- Lay the footprint and align it with the flattest area.
- Stake corners first, then insert poles. Keep corners square for even tension.
- Guyline basics: run lines at ~45° from the tent, stake taut. Add extra lines on the windward side and over the fly if gusts are coming.
Tent stakes,
guylines,
rubber mallet.
- Condensation control: crack fly vents; leave a small gap between fly and ground; avoid pitching under dripping trees when it’s humid.
- Wet-entry system: outdoor mat + shoe line.
Outdoor mat.
If rain starts mid-setup: throw the fly over the inner ASAP, stake the four corners, then refine.
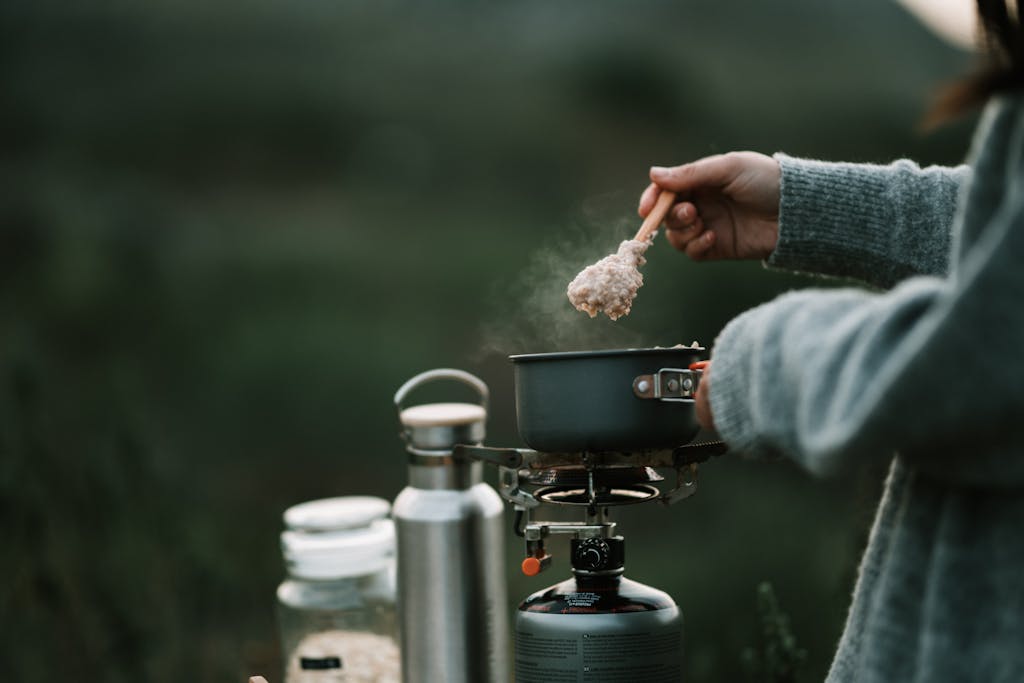
Step 3: Build a Kitchen That’s Actually Nice to Cook In
The triangle: Stove → Prep area → Wash station within a step or two. Keep cooler in the shade.
Stove safety & performance:
- Use a level, heat-safe surface; clip on a windscreen if conditions are breezy.
- Bring 2 lighters + storm matches.
- Pre-measure fuel (cold weather = more).
Dishwashing (Leave No Trace-friendly):
- Scrape plates first.
- 3-bin method: hot soapy → hot rinse → cold rinse with a tiny splash of sanitizing solution.
- Strain food bits; pack them out. Scatter grey water 200 ft from water sources.
Food storage:
- Drinks in the “party” cooler; food in the strict one.
- Freeze water in big bottles or use ice blocks (last longer than cubes).
- Raw meat on bottom; label bins so nobody “forgets.”
Step 4: Lighting = Safety + Vibes
Lighting is the mood—and also how you find the bathroom at 2 a.m.
- Personal: one headlamp per person (set a “no eye-zapping” rule for kids).
- Area: a warm camp lantern for the table/cook zone.
- Ambience: soft string lights over your canopy or between trees. Instant “cozy lodge” energy.
Step 5: Seating, Tables, and the Chill Zone
This is where you’ll hang the most—make it comfy.
- Chairs: Get one that supports your lower back and doesn’t swallow you whole.
Camp chair.
- Table: A folding table earns its space for prep, meals, and card games.
Camp table.
- Hammock: Optional, but high joy-per-ounce.
Camping hammock.
Step 6: Keep It Clean (So It Stays Relaxing)
- Mini sweep: A tiny broom + dustpan eliminates the “crunchy floor” feeling.
- Shoe system: shoes off at the mat; slippers or slides inside the tent.
- Grab station: sunscreen, bug spray, hand sanitizer, and a flashlight live in the same visible spot.
- Wet line: hang a simple clothesline near the edge of camp for damp towels/rain gear.
Step 7: Kids & Pets—Organization That Actually Works
With kids:
- Give each child one duffel in a unique color.
- Personal headlamps, water bottles, and a mini snack pouch create independence.
- Camp rules: never wander without telling an adult; memorize the campsite number; identify landmarks (“we’re four sites from the amphitheater”).
With pets:
- Bring a long leash/tie-out, water bowl, towel, and a designated bed spot.
- Store food in a sealed container; never leave it out.
- Know area rules for trails, beaches, and quiet hours.
Step 8: Safety, Wildlife, and Leave No Trace
- First-aid + basics: Pack a real first aid kit, a whistle, and a basic emergency plan (“If we get separated, we meet at the trailhead sign”).
- Wildlife: No food in tents—ever. Use bear boxes where provided; otherwise consider a bear canister.
- Fires: Only in designated rings. Keep water/shovel nearby; fully drown, stir, and feel for heat before bed.
- LNT: Pack it in, pack it out. Stay on durable surfaces. Respect quiet hours.
Step 9: Sleep Warmer and Better
- R-value over “puffiness”: A warmer pad beats an overkill sleeping bag on cold ground.
- Dress the part: Dry base layer + socks reserved for sleep.
- Vent smart: A tiny vent in the fly reduces condensation drips at 3 a.m.
- Liner: A sleeping bag liner adds warmth and keeps your bag clean.
Step 10: Tear-Down That Doesn’t Take Forever
- Dry before you stuff: Shake out debris; air-dry fly and footprint if possible.
- Micro-inventory: As you put items back, note anything to restock/repair (throw repair tape in your kit).
- Leave it better: Pick up micro-trash (yours and not-yours). Future you—and the next camper—wins.
My Simple Packing List Snapshot
Shelter: lightweight tent, footprint, stakes, guylines, mallet, canopy
Kitchen: stove, fuel, pot/pan set, utensils, cutting board, wash kit
Water: container, filter (if needed)
Food: cooler, labeled bins
Lighting: headlamps, lantern, string lights
Comfort: camp chairs, camp table, hammock, outdoor mat
Organization: dry bags, totes, zip bags
Safety/Repair: first aid kit, whistle, map, repair tape
Wildlife: bear canister (where required)
A great campsite isn’t fancy—it’s intentional. A few thoughtful choices up front (where you pitch, how you organize, what you light) turn “a place to sleep” into a little sanctuary under the trees. Set it up once, then forget about the setup and actually enjoy being out there. You’ll feel the difference.