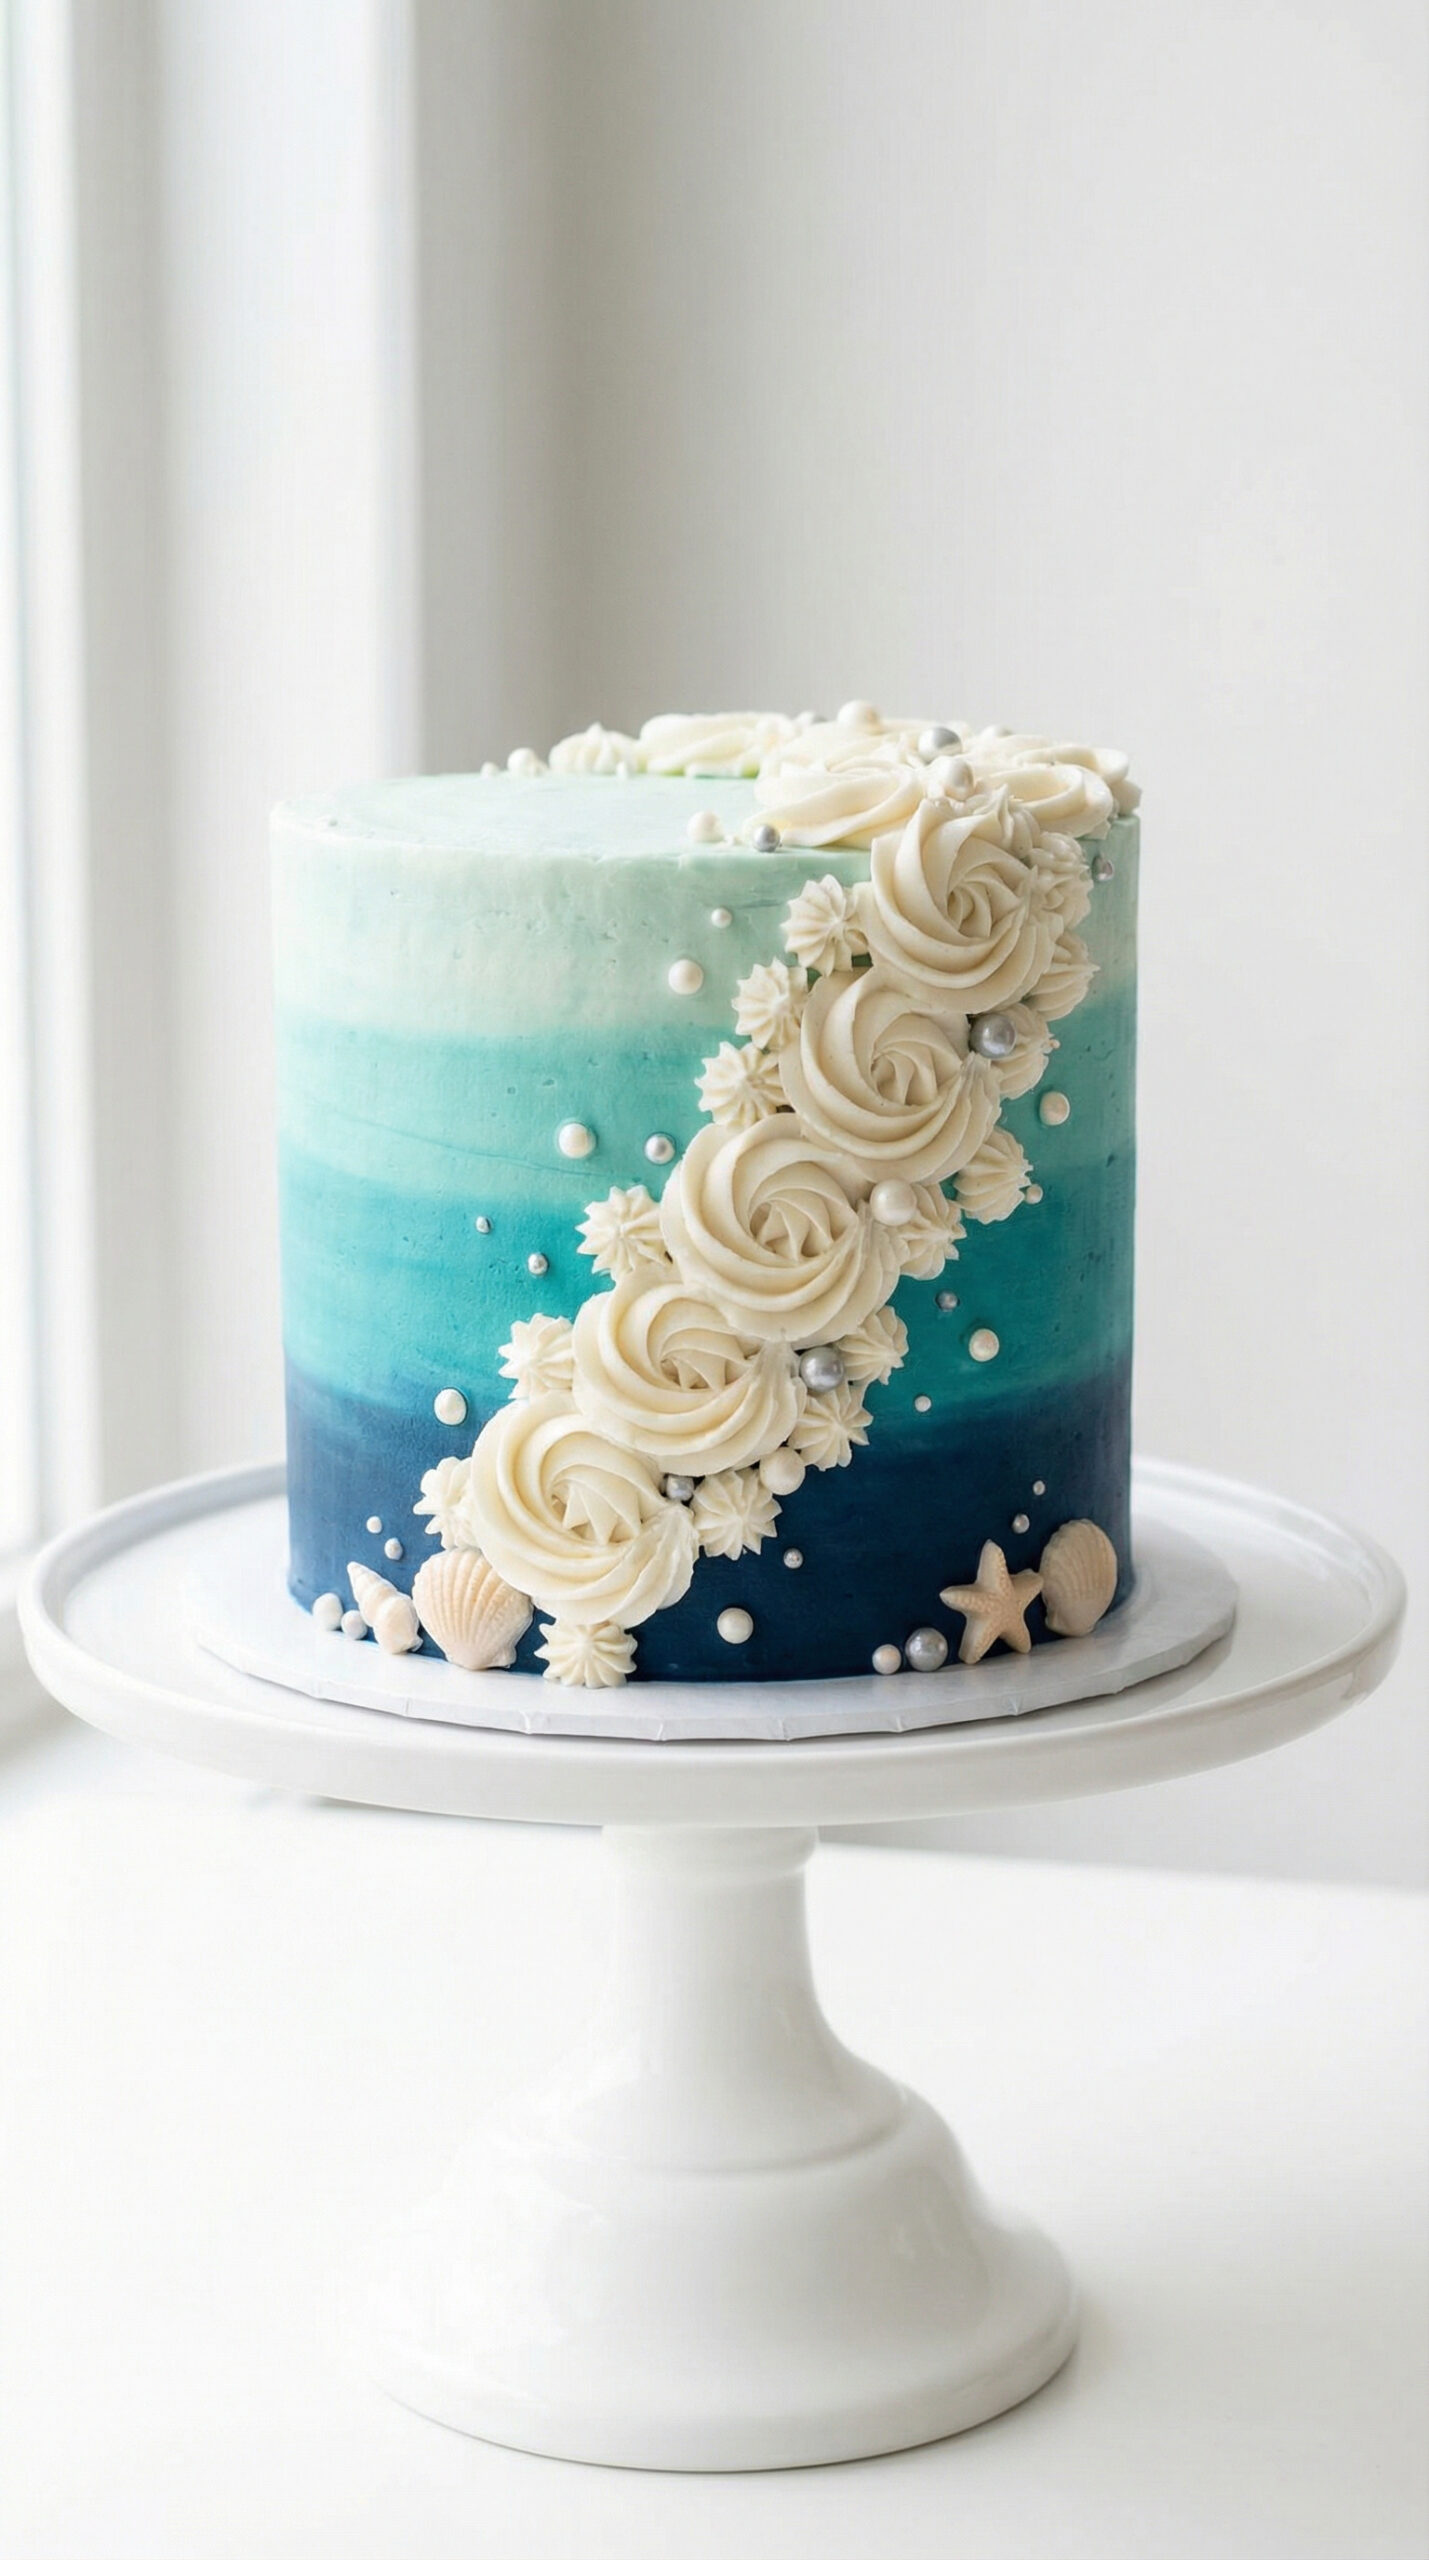
Ocean Wave Ombre Cake
This stunning three-layer vanilla cake features buttercream that gradients from deep ocean blue at the bottom to seafoam white at the top, with decorative waves piped around the sides.
It looks complex but breaks down into manageable steps that any home baker can handle.
WANT TO SAVE THIS FOR LATER?
We'll email it to you!
We won't send you spam. Unsubscribe at any time.
Why You’ll Love It
- Show-stopping centerpiece for beach parties, summer birthdays, or mermaid themes
- Uses one buttercream recipe divided and tinted for the ombre effect
- Vanilla cake is foolproof and crowd-pleasing
- Decorating technique is forgiving—waves don’t need to be perfect
- Can be made over 2 days for easier scheduling
Ingredients
For the Vanilla Cake (three 8-inch layers)
- 3 cups all-purpose flour
- 1 tablespoon baking powder
- 1/2 teaspoon salt
- 1 cup (2 sticks) unsalted butter, softened
- 2 cups granulated sugar
- 4 large eggs, room temperature
- 1 tablespoon vanilla extract
- 1 1/3 cups whole milk, room temperature
For the Buttercream (makes about 8 cups)
- 3 cups (6 sticks) unsalted butter, softened
- 12 cups powdered sugar (about 3 lbs), sifted
- 6 tablespoons heavy cream
- 1 tablespoon vanilla extract
- 1/4 teaspoon salt
- Blue gel food coloring (navy or royal blue works best)
- Teal or turquoise gel food coloring (optional, for more depth)
For Decorating
- Edible pearls or white sprinkles
- White fondant or modeling chocolate for shells (optional)
- Edible gold luster dust (optional)
Steps
Make the Cake Layers
- Prep the pans. Preheat oven to 350°F (175°C). Grease three 8-inch round cake pans, line bottoms with parchment paper, and grease again. Dust lightly with flour.
- Mix dry ingredients. Whisk flour, baking powder, and salt in a medium bowl. Set aside.
- Cream butter and sugar. In a stand mixer with paddle attachment, beat butter and sugar on medium-high for 4-5 minutes until light and fluffy.
- Add eggs and vanilla. Add eggs one at a time, beating well after each. Scrape down the bowl. Add vanilla and mix briefly.
- Alternate dry and wet. With mixer on low, add flour mixture in three additions, alternating with milk in two additions. Start and end with flour. Mix just until combined—don’t overmix.
- Divide and bake. Divide batter evenly among prepared pans (about 1 lb 2 oz each if using a scale). Bake for 25-30 minutes until a toothpick inserted in the center comes out clean. Layers should spring back when lightly pressed.
- Cool completely. Let cakes cool in pans for 10 minutes, then turn out onto wire racks. Remove parchment and cool completely before frosting, at least 1 hour.
Make the Buttercream
- Beat the butter. In a stand mixer with paddle attachment, beat softened butter on medium-high for 3-4 minutes until pale and creamy.
- Add sugar gradually. With mixer on low, add powdered sugar 2 cups at a time. Once incorporated, increase speed to medium and beat for 1 minute before adding more.
- Add liquids and salt. Add heavy cream, vanilla, and salt. Beat on medium-high for 3-4 minutes until light and fluffy. The buttercream should be smooth and spreadable.
Create the Ombre Colors
- Divide the buttercream. You’ll need four colors: dark blue, medium blue, light blue, and white. Divide buttercream into four portions: 2 cups for dark blue, 2 cups for medium blue, 2 cups for light blue, and 2 cups left white.
- Tint each portion. Add blue gel food coloring to each portion, using the most for dark blue and decreasing for each lighter shade. Start with small amounts—gel coloring is potent. Mix thoroughly until no streaks remain.
Assemble and Frost
- Level the cakes. Use a serrated knife or cake leveler to trim the domed tops off each layer so they’re flat.
- Stack and fill. Place first layer on a cake board or serving plate. Spread about 3/4 cup of any color buttercream on top. Repeat with second layer. Add third layer, bottom-side up for a flat top.
- Apply crumb coat. Spread a thin layer of buttercream (any color or white) over the entire cake to seal in crumbs. Refrigerate for 20 minutes until firm.
- Apply ombre frosting. Working from bottom to top, spread dark blue around the bottom third of the cake, medium blue around the middle third, light blue around the upper third, and white on top. Use an offset spatula or bench scraper to smooth and blend where the colors meet.
- Smooth the gradient. Hold a bench scraper against the side of the cake and slowly rotate the turntable (or turn the cake) to blend the colors into a smooth gradient. Wipe the scraper clean between passes.
Add the Waves
- Pipe the waves. Fit a piping bag with a large open star tip (like Wilton 1M or 2D). Fill with white buttercream. Starting at the bottom of the cake, pipe small rosettes or swirls in a wave pattern, working up the cake. Overlap them slightly for a dimensional look.
- Add details. Sprinkle edible pearls onto the waves while buttercream is still soft. Add any fondant shells or decorations you’ve prepared.
- Chill before serving. Refrigerate cake for at least 30 minutes to set the decorations. Remove 20 minutes before serving to bring to room temperature.
Helpful Tips and Substitutions
Not enough buttercream: This recipe makes enough for generous frosting. If you want extra for practice piping, make 1.5x the buttercream recipe.
Buttercream too soft: Refrigerate for 15 minutes and re-whip. If your kitchen is warm, chill your mixing bowl too.
Buttercream too stiff: Add more heavy cream, 1 tablespoon at a time, until spreadable.
No gel food coloring: Liquid food coloring works but requires more to achieve deep colors, which may affect buttercream consistency.
Easier wave option: Instead of piped rosettes, use a small spoon to create swooping wave shapes in the frosting. Less precise but still effective.
Chocolate cake version: Replace 1/2 cup flour with 1/2 cup cocoa powder and add 1 teaspoon espresso powder. The dark cake looks dramatic under blue frosting.
Serving Ideas
Display on a cake stand decorated with real shells and beach glass (remove before cutting).
Add a cake topper with a mermaid figurine, starfish, or “Happy Birthday” in gold.
Serve alongside blue punch or lemonade tinted with butterfly pea flower for a cohesive theme.
Cut with a sharp knife dipped in hot water for clean slices that show off the layers.
Make-Ahead and Storage
Cake layers: Bake up to 2 days ahead. Wrap tightly in plastic wrap and store at room temperature, or freeze for up to 3 months.
Buttercream: Make up to 1 week ahead and refrigerate. Bring to room temperature and re-whip before using.
Assembled cake: Store covered in the refrigerator for up to 4 days. The cake actually tastes better after a day as the flavors meld.
Freezing assembled cake: Freeze unfrosted layers wrapped in plastic, or freeze the fully frosted cake (uncovered until solid, then wrap). Thaw in the refrigerator overnight.
Day-of timeline: Remove from refrigerator 20-30 minutes before serving. Buttercream is best slightly cool but not cold.
Make a Splash
This cake takes some time and attention, but every step is achievable for a home baker willing to work through the process.
The ombre effect is more forgiving than it looks—the blending hides small imperfections, and the wave decorations add dimension that distracts from any unevenness.
Take your time, trust the process, and you’ll end up with a cake that looks like it came from a professional bakery.
WANT TO SAVE THIS FOR LATER?
We'll email it to you!
We won't send you spam. Unsubscribe at any time.