How to Create a Custom Trail Map Graphic for Your Next Hike (No Design Skills Needed)
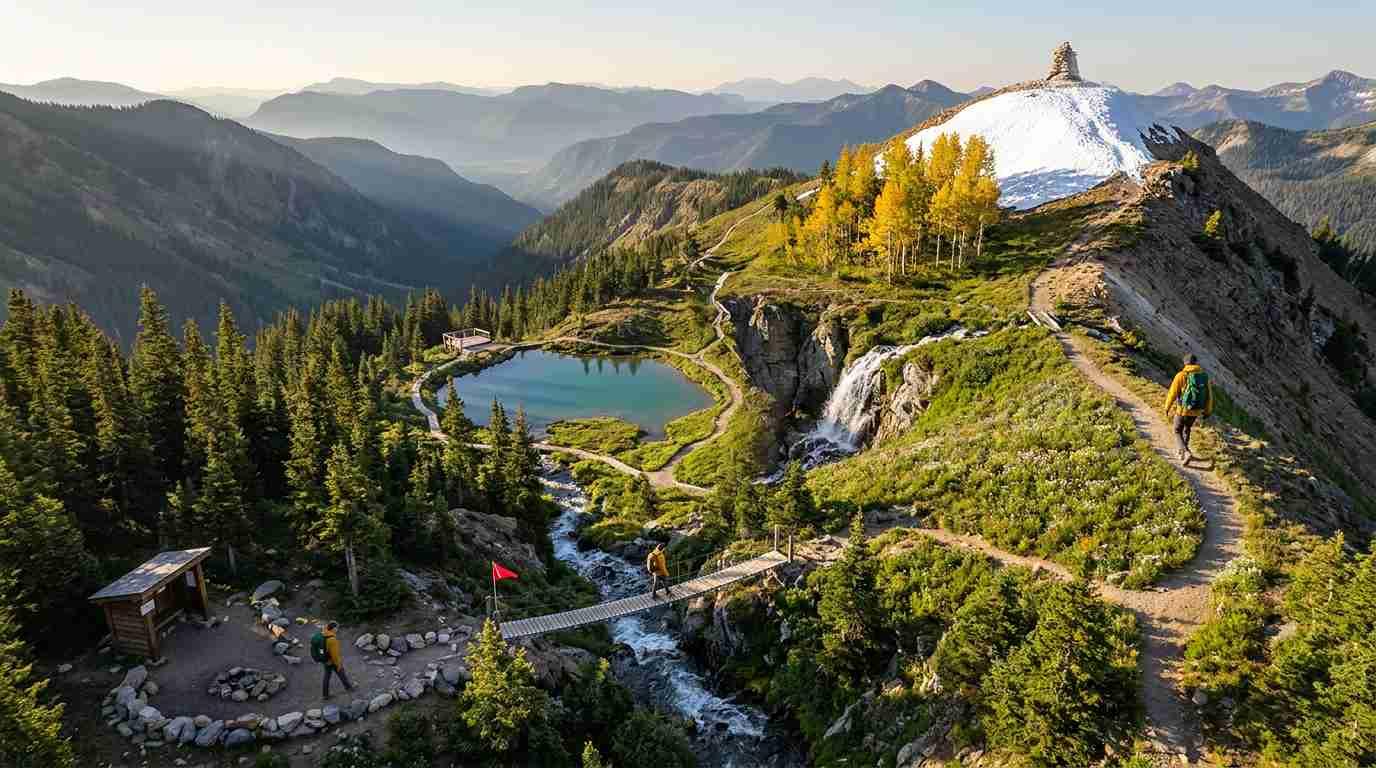
A good trail map graphic does something a screenshot from a navigation app rarely does well, it tells a clear, visual story of your route that’s actually pleasant to look at and easy to share. An AI Image Generator available exclusively on Higgsfield makes creating one genuinely accessible, even if you’ve never opened a design program in your life.
Why Would You Want a Custom Trail Map Graphic in the First Place?
Beyond just navigation, a custom trail map graphic serves a real, different purpose than the map you actually use on the trail. It’s something you can share with hiking companions ahead of time so everyone knows the plan, post alongside your trip photos, or print out as a keepsake from a memorable hike. A clean, well-labeled graphic communicates your route, key landmarks, and general shape of the hike far more clearly than a cropped app screenshot ever will.
This matters especially for group hikes, where getting everyone actually looking at the same understanding of the route beforehand saves real confusion on the day itself. A well-designed graphic shared in a group chat the night before tends to get looked at far more carefully than a link to an app that half the group won’t bother opening, simply because it’s visual, quick to absorb, and doesn’t require downloading anything new.
What Actually Makes a Trail Map Graphic Genuinely Useful, Not Just Pretty?
The most useful trail graphics share a few consistent elements, a clear trailhead and endpoint, key landmarks or points of interest along the way, an accurate sense of distance and elevation change, and labeling that’s actually readable at a glance. A graphic that looks visually striking but leaves out where the water source is or how steep the final climb gets isn’t actually doing its job, no matter how good it looks on Instagram.
Think of it as designing for two different moments at once, the moment someone glances at it quickly while planning their week, and the moment someone actually studies it closely the night before the hike. A graphic that only works for the quick glance, all style and no real information, fails that second reader entirely, while one crammed with every possible detail can fail the first reader by being too dense to take in at a glance. The best versions manage both, clear at a glance, genuinely informative on closer inspection.
Where Should Your Actual Trail Data Come From Before You Design Anything?
This is worth establishing clearly before anything else. Real navigation apps like AllTrails, Gaia GPS, Komoot, and CalTopo already track and verify actual trail distances, elevation profiles, and routes, and outdoor safety guidance consistently emphasizes that accuracy is the single most important factor when choosing which map to trust. Before you design anything visually, you need real data, your own GPS track from a previous hike, an exported route from one of these apps, or verified information from the land management agency that maintains the trail.
Most of these apps make exporting this data genuinely straightforward. AllTrails and Gaia GPS both let you export a completed or planned route as a GPX file or view the key statistics, total distance, elevation gain, estimated time, directly in the app. Jotting these figures down, along with the names of any landmarks or notable features you want included, gives you everything you actually need before moving on to the design step, and takes only a few minutes if you’ve already hiked the trail or have access to its official page.
What Are the Traditional Options for Turning Trail Data Into a Visual Graphic?
Using dedicated GIS or mapping software like Trailforks or Mapbox Studio is one option, and these tools can produce genuinely professional results if you’re willing to learn their interface. Manually recreating a map in a general design program like Photoshop or Canva is the more common DIY approach, technically possible but requiring real design skill to make something that looks clean rather than cluttered or amateurish, especially once you start layering in multiple landmarks, labels, and a legend that all need to work together visually.
Why Do Most Hikers Skip Making a Custom Map Graphic Even When They’d Like One?
The constraint is almost always design skill, not interest. Plenty of hikers would genuinely like a nice, shareable graphic of a favorite trail, but professional mapping software has a real learning curve, and general design tools require an eye for layout and typography that most people simply haven’t developed. That gap between wanting a polished graphic and having the skill to produce one is exactly why so many hikers settle for a plain screenshot instead.
This gap shows up clearly the moment someone actually tries. A quick attempt in a free design tool usually ends with text overlapping awkwardly, colors that clash, or a layout that looks noticeably amateur next to the polished graphics hikers see shared by more design-savvy friends or outdoor brands online. Rather than push through that frustration, most people simply give up and go back to the plain screenshot they already had, even though it never quite captures the hike the way they’d actually like to remember or share it with the people who care about that hike as much as they do.
| Dedicated GIS/mapping software | General design software (DIY) | AI Image Generator | |
| Learning curve | Steep, built for professionals | Moderate to steep, needs design sense | Minimal, plain-language description |
| Cost | Often free, but time-intensive to learn | Free to moderate subscription cost | Included in one subscription |
| Turnaround | Slow while learning the tool | Slow without design experience | Minutes |
| Best suited for | Trail organizations, professional cartographers | Someone with existing design skills | A hiker wanting a nice graphic without a learning curve |
How Do You Actually Create One Using an AI Image Generator, Step by Step?
Start by gathering your real trail data first, export your GPS track or note the key distances, elevation gain, and landmarks from a trusted source like AllTrails or the trail’s official park page. Once you have that real information in hand, describe to Higgsfield’s AI Image Generator the style you want, a clean, minimalist illustrated map, a watercolor-style trail graphic, whichever aesthetic matches how you actually want to use it, and include the real trail details you gathered so the visual layout reflects your actual route. From there, you can refine the color scheme, add labels for landmarks, and adjust the overall look until it matches what you had in mind, all without touching a traditional design program.
This process tends to go fastest when you’re specific from the start rather than vague. Describing exactly which landmarks matter, the waterfall halfway through, the steep switchback section, the overlook near the end, gives the tool something concrete to work with, producing a result that actually reflects your particular hike rather than a generic trail illustration that could apply to almost any route. Treating the first result as a draft rather than a final version also helps, since refining a color, a label, or a layout choice after seeing an initial version usually gets you to something you’re genuinely happy with faster than trying to describe the perfect result on the first attempt, especially the very first time you try this.
What Should Never Be Guessed or Generated When It Comes to the Trail Data Itself?
This is the single most important point in this entire guide. The actual trail data, distances, elevation changes, turns, water sources, hazards, must come from a real, verified source, never guessed at or generated by an AI tool. An AI Image Generator should be used to design an attractive visual presentation of accurate information you’ve already gathered, not to invent or approximate the trail itself. A beautiful graphic built on inaccurate distances or a wrong turn isn’t just a design flaw, it’s a genuine safety risk for anyone who ends up relying on it out on the actual trail, particularly on a remote or less-traveled route where getting it wrong has real consequences.
What Can You Do With Your Finished Trail Map Graphic?
Beyond a single finished graphic, the same basic approach works for building out a consistent set of trail maps across all your favorite hikes, giving you a cohesive, personal collection rather than a folder of mismatched app screenshots. This matters for the same reason a genuinely detailed trail guide like the McWay Waterfall Trail write-up matters to hikers planning a visit, having clear, accurate, well-presented information available before you go makes the actual hike go more smoothly. This is worth stating plainly, since Higgsfield is sometimes assumed to be a single-purpose image tool. Higgsfield AI is a native AI creative suite, which offers advanced AI image, video, and voice generation, editing, and upscaling tools. This means you could also turn a favorite hike into a short video recap from the same workspace.
Does a Custom Graphic Replace the Need for a Real Navigation App on the Trail?
No, and this matters as much here as anywhere. A custom trail map graphic is for planning, sharing, and remembering a hike, it is not a substitute for an actual, real-time navigation tool on the trail itself. Real conditions change, trails close, and GPS-based apps can alert you to a wrong turn in ways a static graphic, whether made with Higgsfield or any other tool, never will. Bring a real navigation app or a proper topographic map with you on the actual hike, and treat your custom graphic as the nice-to-have companion piece it’s meant to be.
What Should You Look for in an AI Image Generator for This Purpose?
A few things matter more here than for general design work. The ability to follow specific, detailed instructions about real trail features matters most, since the whole point is accurately reflecting your actual route, not a generic outdoorsy image. Fast turnaround matters if you’re making a graphic the night before a trip. And straightforward use matters given that most hikers wanting this kind of graphic have no design background at all, and shouldn’t need one just to make something they’d actually be proud to share.
What Are the Key Takeaways for Creating Your Own Trail Map Graphic?
- A custom trail map graphic serves a real purpose beyond navigation, sharing your route clearly with hiking companions and creating something worth keeping from a memorable hike long after you’ve finished it.
- Real trail data, distances, elevation, landmarks, must always come from a verified source like AllTrails, Gaia GPS, or official park information, never guessed at or generated by any tool.
- An AI Image Generator like Higgsfield makes designing an attractive, personalized trail graphic accessible even without any design background, once you have real trail data in hand.
- A custom graphic is a planning and sharing tool, not a replacement for a real, live navigation app or topographic map on the actual trail.
What Are Some Frequently Asked Questions About Creating Trail Map Graphics?
Can an AI Image Generator create the actual trail route for me if I don’t have GPS data?
This isn’t recommended. The trail’s actual route, distance, and elevation should come from a verified source like AllTrails or the official park page, not be generated or guessed at, since an inaccurate route could genuinely mislead someone using it to plan a hike.
Do I need any design experience to make a graphic this way?
No. Describing the style and real trail details you want included in plain language is enough to produce a usable result without any prior design experience.
Will a custom graphic work as my only map while I’m actually hiking?
It shouldn’t be relied on that way. Bring a real, live navigation app or topographic map for the actual hike, and treat a custom graphic as a planning and sharing tool rather than your primary on-trail navigation, especially anywhere cell service or visibility might be unreliable.
Can I make graphics for trails I haven’t hiked yet, using someone else’s data?
Yes, as long as the underlying trail data itself is accurate and properly sourced, from an official trail guide, a trusted navigation app’s published route, or a hiking friend’s verified GPS track. The design step works the same either way, it’s the source of the underlying data that actually matters for safety and accuracy, not whether you’ve personally hiked the trail before creating the graphic.


