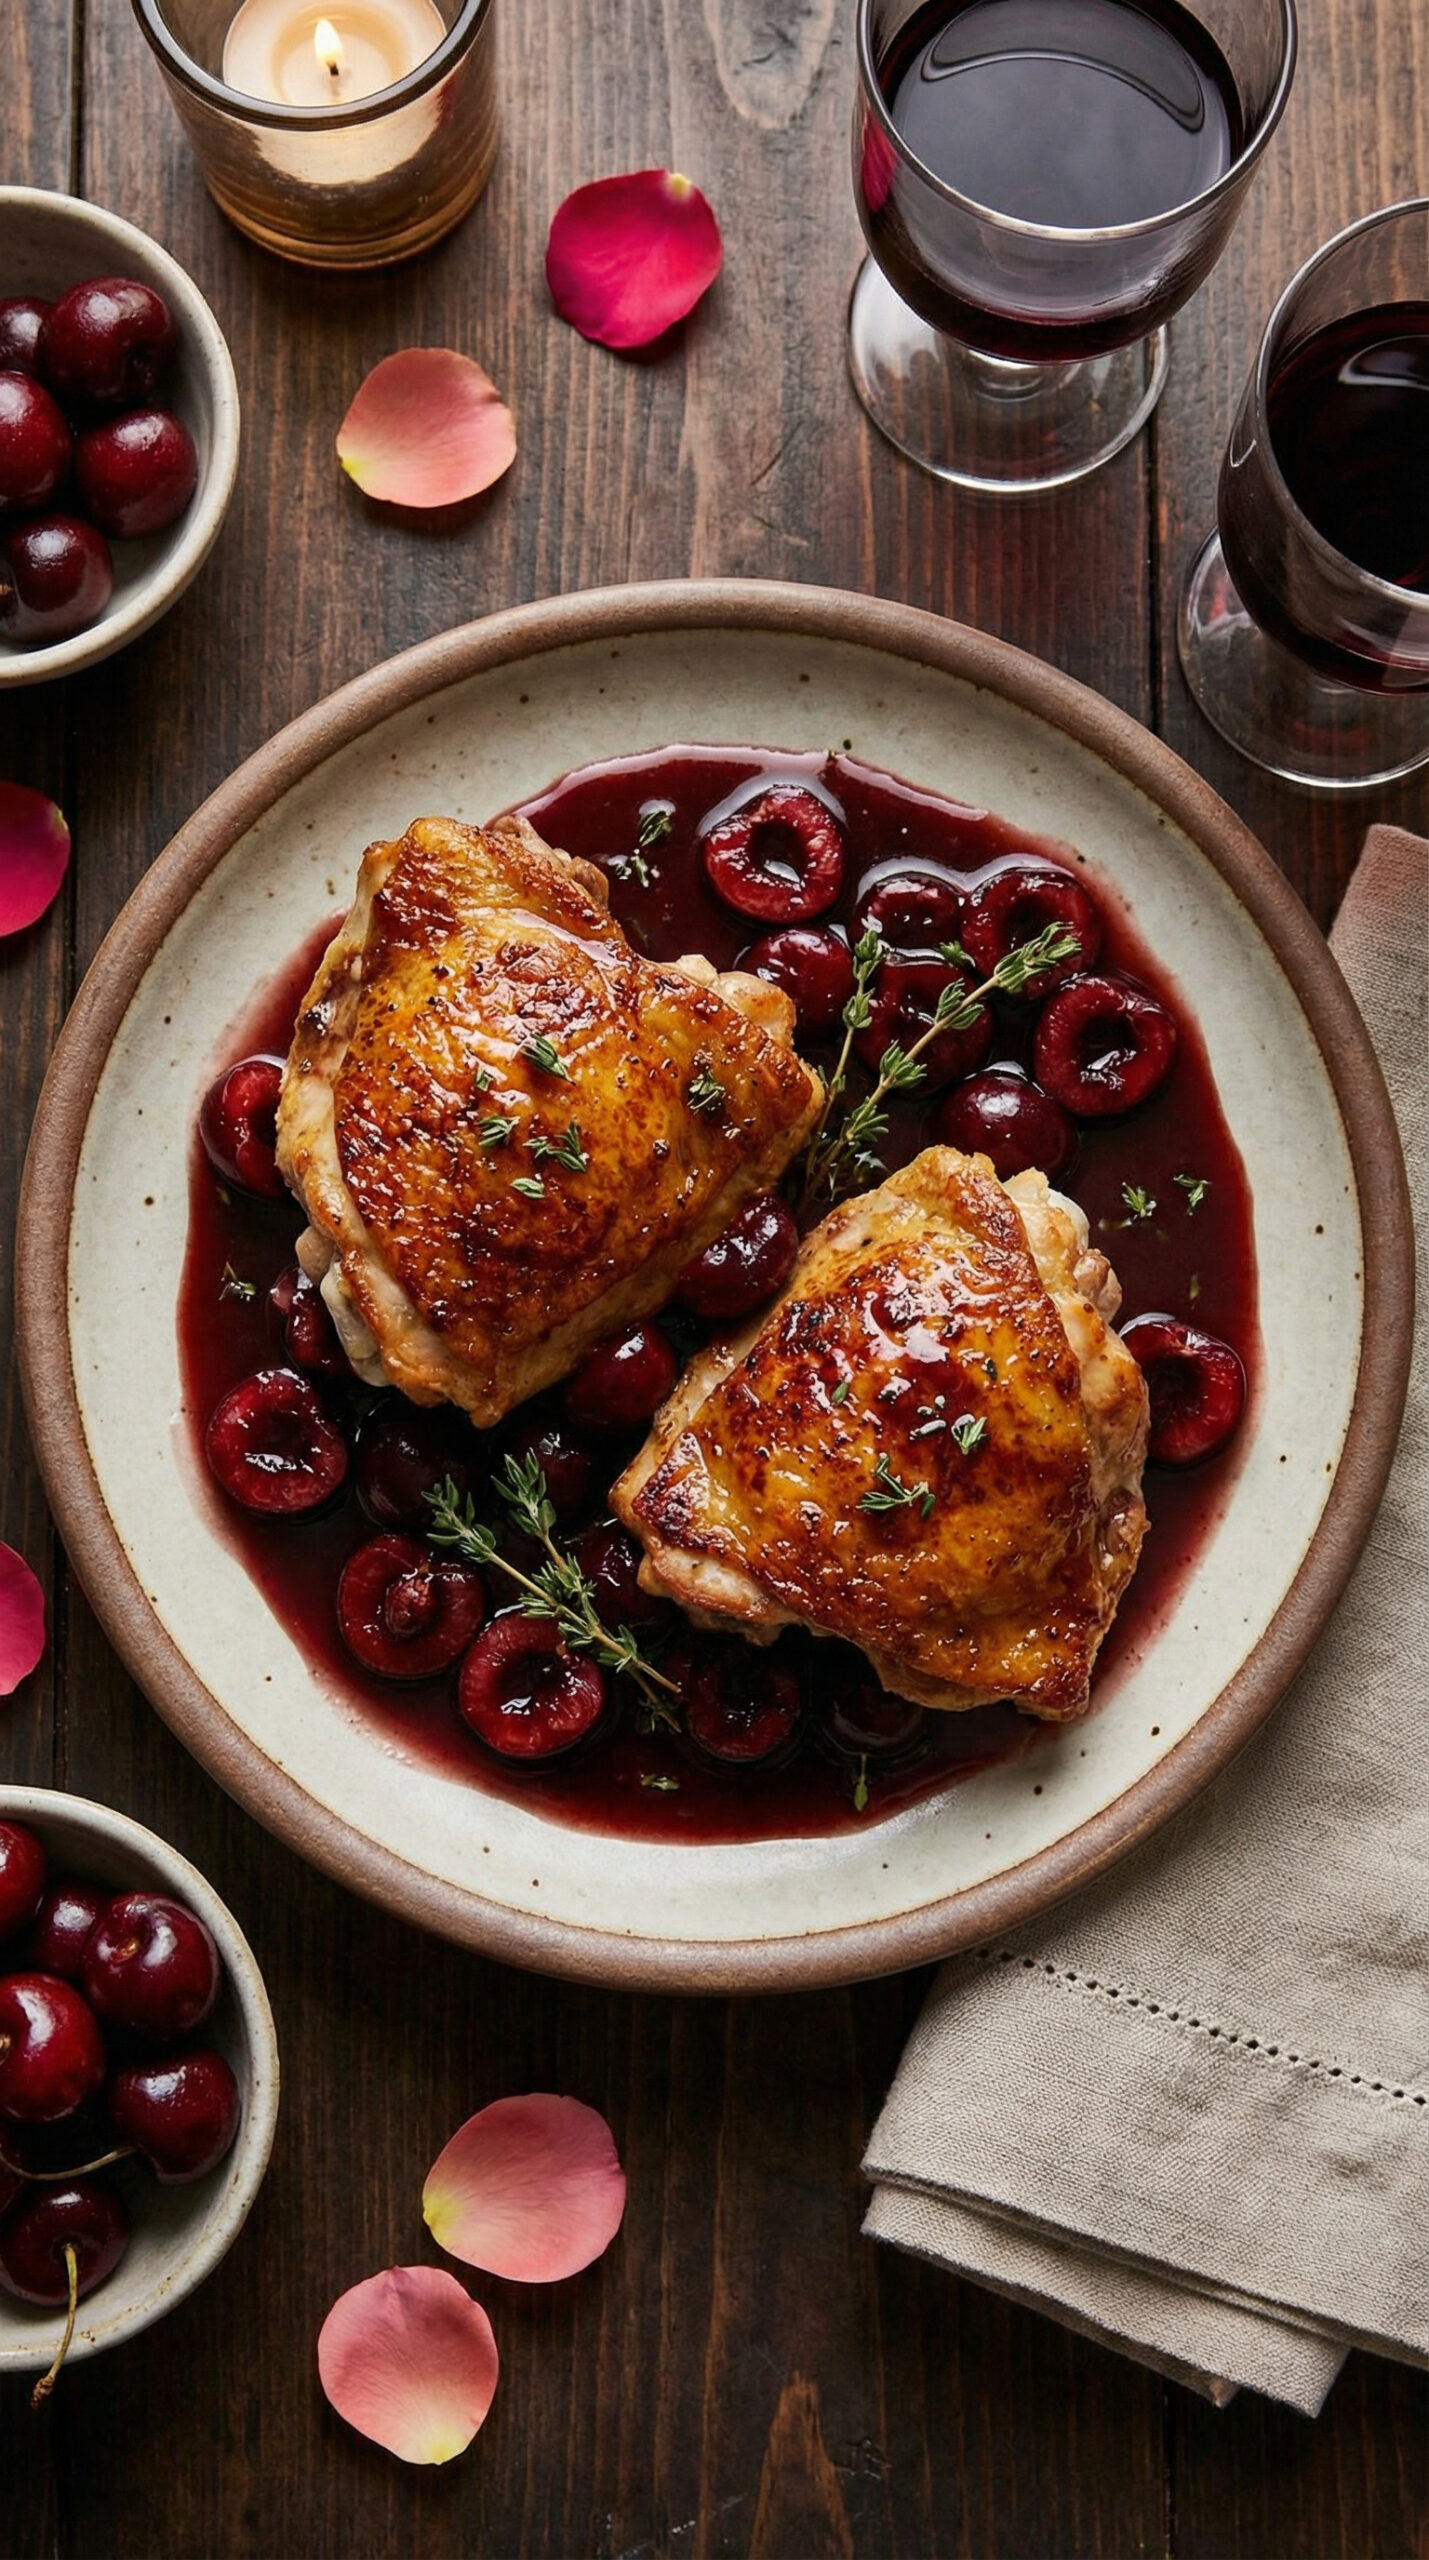
Pan-Seared Chicken Thighs with Cherry Pan Sauce
Bone-in, skin-on chicken thighs get seared until the skin is shatteringly crisp, then finished with a quick cherry pan sauce that balances sweet and tart.
This elegant one-pan dinner is perfect for a romantic Valentine’s Day date night or a Galentine’s celebration with friends.
The key to this recipe is patience: crispy skin comes from slow fat rendering, not blasting heat.
WANT TO SAVE THIS FOR LATER?
We'll email it to you!
We won't send you spam. Unsubscribe at any time.
Why You’ll Love It
- One-pan meal with minimal cleanup
- Crispy skin achieved through proper technique, not deep frying
- Sweet-tart sauce built from the flavorful browned bits left in the pan
- Budget-friendly cut that’s nearly impossible to overcook
- Advanced cooks can substitute duck breast using the cold-start method described below
Ingredients
For the Chicken:
- 4 bone-in, skin-on chicken thighs (about 6-8 ounces each, 2 pounds total)
- 1 1/2 teaspoons kosher salt (or 3/4 teaspoon table salt)
- 1/2 teaspoon freshly ground black pepper
- 1 tablespoon vegetable oil or other neutral oil with high smoke point
For the Cherry Pan Sauce:
- 1 tablespoon unsalted butter
- 1 medium shallot, minced (about 2 tablespoons)
- 1 cup fresh or frozen sweet cherries, pitted and halved (no need to thaw if frozen)
- 1/2 cup dry red wine such as Pinot Noir or Merlot (see substitution below)
- 1/2 cup low-sodium chicken broth
- 1 tablespoon balsamic vinegar
- 1 teaspoon fresh thyme leaves (or 1/2 teaspoon dried thyme)
- 2 tablespoons cold unsalted butter, cut into small cubes
- Salt and pepper to taste
Steps
1. Dry the chicken thoroughly.
Remove chicken thighs from packaging and pat completely dry with paper towels, pressing firmly on both sides.
This step is critical: any moisture on the skin will turn to steam in the pan, which prevents browning and creates soggy skin.
If you have time, place the thighs uncovered on a plate in the refrigerator for 1-24 hours to air-dry the skin further.
2. Season and temper the chicken.
Season both sides generously with salt and pepper, making sure to get salt under any loose skin edges.
Let the chicken sit at room temperature for 20-30 minutes.
Cold chicken straight from the fridge will lower your pan temperature and cook unevenly, with the outside overcooking before the inside comes up to temperature.
3. Prepare your pan correctly.
Place a 12-inch cast iron skillet or heavy stainless steel pan over medium heat (not medium-high or high).
Let the pan heat for 3-4 minutes until evenly hot.
Add the oil and swirl to coat the bottom.
The oil should shimmer and flow easily but should not smoke.
If the oil smokes, your pan is too hot, which will burn the skin before the fat renders.
4. Start the chicken skin-side down.
Place chicken thighs in the pan skin-side down, pressing gently to ensure full contact with the pan surface.
You should hear a moderate sizzle, not aggressive popping or spattering.
If the sizzle is too aggressive, reduce heat slightly.
Arrange the thighs so they don’t touch each other, which would create steam and prevent browning.
5. Leave the chicken alone and render the fat slowly.
Do not move, press, or peek under the chicken for at least 10 minutes.
The skin needs this uninterrupted time to slowly render its fat and become crispy.
After 10 minutes, gently lift one corner to check.
The skin should be deep golden brown and release easily from the pan.
If it sticks, it’s not ready yet; give it another 2-3 minutes.
If the skin is browning too fast but still pale in spots, reduce heat to medium-low.
Total skin-side-down time: 12-15 minutes for properly rendered, crispy skin.
6. Flip and finish cooking.
Once the skin is deeply golden and crisp, flip the thighs using tongs or a thin fish spatula.
Continue cooking on medium heat for another 6-8 minutes.
Check the internal temperature by inserting an instant-read thermometer into the thickest part of the thigh, avoiding the bone.
Target temperature: 175-180°F for dark meat.
This is higher than the USDA minimum of 165°F because dark meat contains more collagen, which breaks down between 165-180°F, making the meat more tender and juicy rather than rubbery.
7. Rest the chicken.
Transfer the chicken to a plate or cutting board and tent loosely with foil.
Let rest for 5 minutes while you make the sauce.
Resting allows the juices to redistribute; cutting in immediately causes them to run out onto the plate.
8. Pour off excess fat and build the sauce base.
Your pan now contains rendered chicken fat and browned bits stuck to the bottom called fond.
The fond is concentrated flavor and forms the base of your sauce.
Carefully pour off all but about 1 tablespoon of fat into a heat-safe container (you can save this chicken fat for cooking potatoes later).
Return pan to medium heat and add 1 tablespoon of butter.
Add the minced shallot and cook for 60-90 seconds, stirring frequently, until softened and fragrant but not browned.
9. Add the cherries.
Add the cherries to the pan and cook for 2 minutes, stirring occasionally.
The cherries will release some juice and begin to soften.
If using frozen cherries, they will release more liquid, which is fine; it will cook off.
10. Deglaze with wine.
Pour in the wine.
The liquid will bubble vigorously.
Use a wooden spoon or silicone spatula to scrape up all the browned bits from the bottom of the pan.
This process is called deglazing and transfers all that concentrated flavor into your sauce.
Let the wine simmer for 2 minutes until reduced by about half and the raw alcohol smell has cooked off.
11. Add broth and reduce.
Add the chicken broth and balsamic vinegar.
Increase heat to medium-high and bring to an active simmer.
Cook for 6-8 minutes, stirring occasionally, until the sauce has reduced by about half and coats the back of a spoon lightly.
You should have about 1/2 cup of sauce remaining.
12. Mount the sauce with cold butter.
Remove the pan from heat completely.
Add the cold butter cubes and the thyme.
Swirl the pan continuously until the butter melts and emulsifies into the sauce, creating a glossy, silky finish.
This technique is called mounting and must be done off heat; if the sauce is too hot, the butter will separate into greasy pools instead of emulsifying.
The butter should melt slowly from the residual heat while you swirl.
Taste and season with salt and pepper as needed.
13. Serve immediately.
Place the rested chicken thighs on plates or a platter.
Spoon the cherry sauce over and around the chicken, distributing the cherries evenly.
Serve right away while the skin is still crispy.
Helpful Tips and Substitutions
Why medium heat, not high? Chicken skin contains a layer of fat beneath it that needs time to render (melt out) before the skin can crisp. High heat burns the exterior before this rendering happens, giving you charred but flabby skin. Medium heat gives the fat time to slowly melt away, leaving behind crispy, crackling skin.
How do I know if my skin is rendering properly? You’ll see liquid fat pooling in the pan around the chicken. If after 5 minutes you don’t see much fat accumulating, your heat may be too low. If the edges of the skin are burning while the center is still pale, your heat is too high or the thighs aren’t making full contact with the pan.
My skin is sticking to the pan. This means it’s not ready to flip. Properly rendered skin releases naturally. Wait another 2-3 minutes and try again. Forcing it will tear the skin.
No wine? Replace with 1/2 cup additional chicken broth plus 1 tablespoon red wine vinegar or additional balsamic vinegar. The sauce will be less complex but still delicious.
Cherry options: Frozen sweet cherries are often better than fresh because they’re picked and frozen at peak ripeness. No need to thaw; add them directly to the pan. Jarred tart cherries (drained) also work but may need an extra teaspoon of honey to balance the sourness.
Pitting fresh cherries: Use a cherry pitter or press down on each cherry with the flat side of a knife to split it, then remove the pit with your fingers.
For even crispier skin: Season the chicken and refrigerate uncovered on a wire rack set over a baking sheet for 12-24 hours. This air-dries the skin and results in significantly crispier results.
Duck breast substitution: Duck breast requires a different technique because it has a much thicker fat layer. Score the skin in a crosshatch pattern (cut through the fat but not into the meat), start the breast in a cold pan skin-side down, then turn heat to medium-low and render for 15-20 minutes. Flip and cook just 3-4 minutes on the flesh side. Target 130°F for medium-rare.
Use a splatter screen: A splatter screen allows steam to escape while containing grease spatters. This keeps your stovetop clean without trapping moisture that would make the skin soggy.
Serving Ideas
Creamy mashed potatoes are the classic pairing, perfect for soaking up the sauce.
Polenta or creamy grits work equally well and add a subtle corn sweetness that complements the cherries.
For vegetables, roasted Brussels sprouts, sauteed green beans, or roasted asparagus all pair well without competing with the sauce.
A simple arugula salad dressed with lemon and olive oil provides a fresh, peppery contrast to the rich chicken.
Always serve with crusty bread for mopping up every last drop of sauce.
Make-Ahead and Storage
Best make-ahead approach: Season the chicken and refrigerate uncovered for up to 24 hours. This seasons the meat throughout and dries the skin for extra crispiness. Bring to room temperature for 30 minutes before cooking.
Storing leftovers: Refrigerate the chicken and sauce separately in airtight containers for up to 3 days. The skin will lose its crispiness in the refrigerator.
Reheating for crispy skin: Place chicken skin-side up on a wire rack set over a baking sheet. Reheat in a 400°F oven for 12-15 minutes until the skin re-crisps and the internal temperature reaches 165°F. Warm the sauce separately in a small saucepan over low heat.
Freezing: Freeze the cooked chicken (without sauce) for up to 2 months. Thaw overnight in the refrigerator. The sauce does not freeze well because the butter emulsion breaks when frozen and reheated. Make fresh sauce when serving.
A Technique Worth Mastering
Once you understand the principle behind crispy chicken skin, you’ll never go back to soggy, rubbery results.
The secret is simple: dry skin, medium heat, and patience.
Master this technique and you can apply it to any bone-in, skin-on chicken piece and build countless variations of pan sauces using whatever fruit, wine, or aromatics you have on hand.
WANT TO SAVE THIS FOR LATER?
We'll email it to you!
We won't send you spam. Unsubscribe at any time.