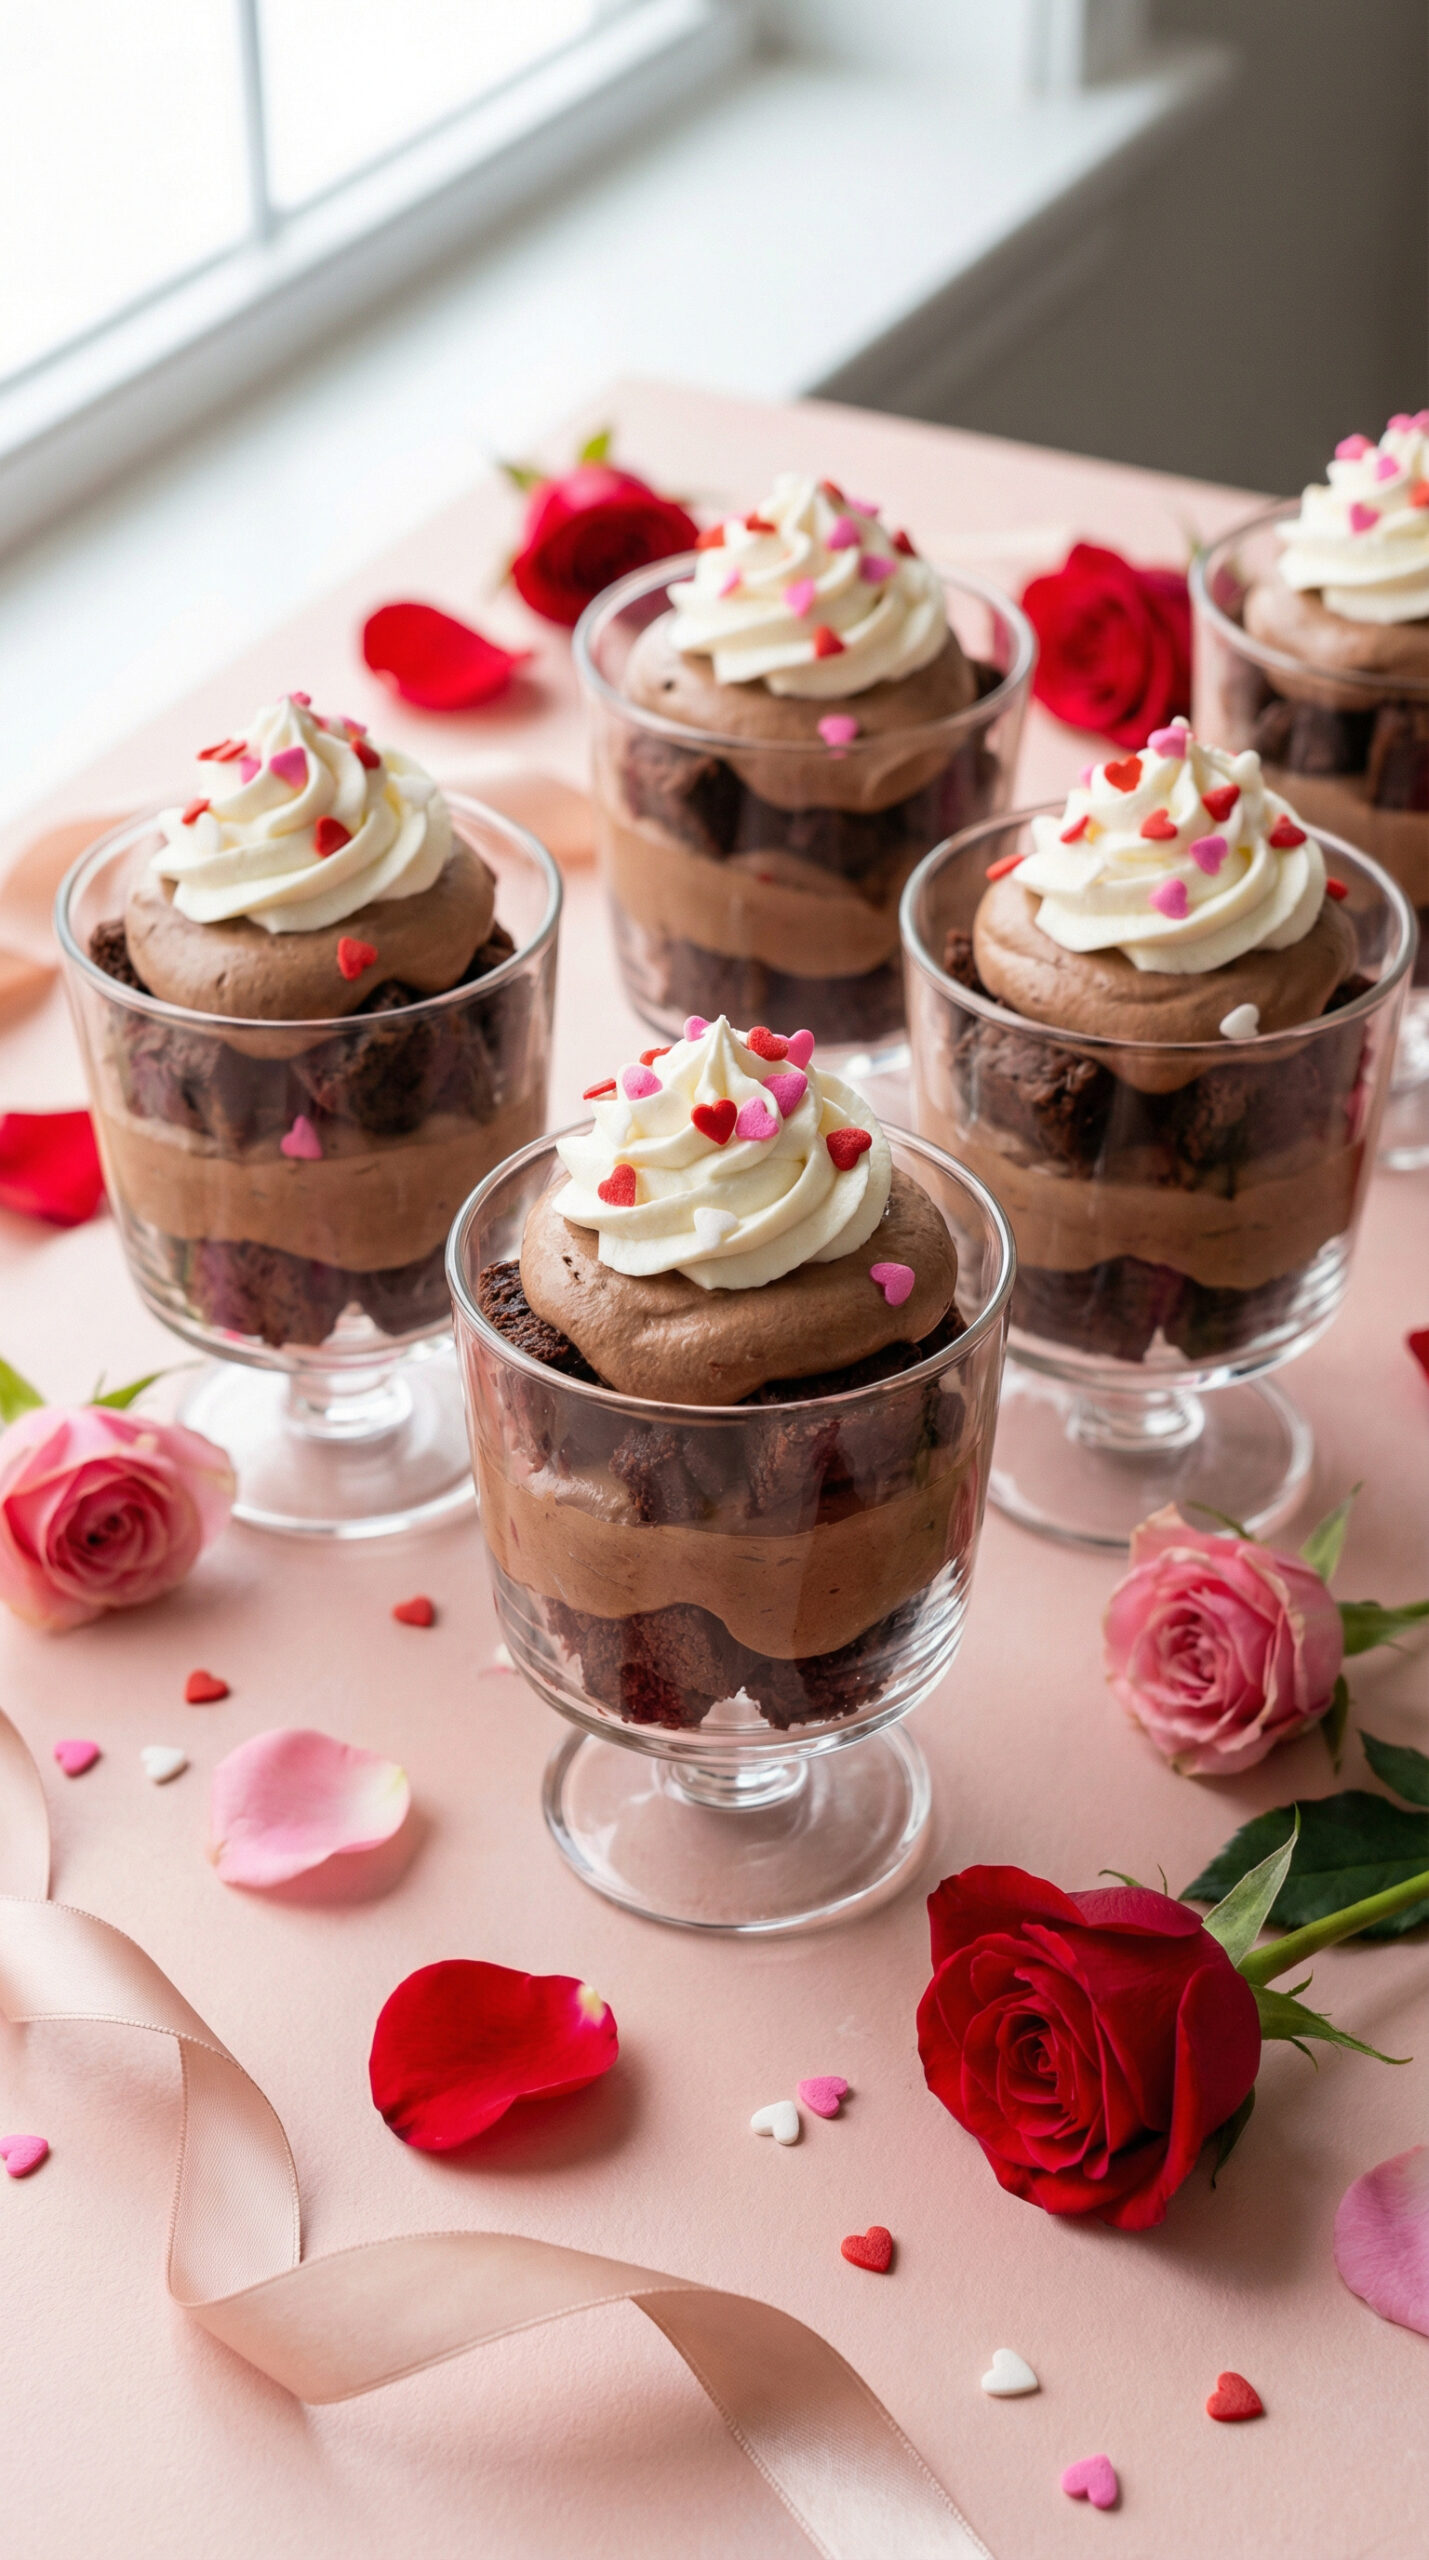
Mini Valentine Dessert Cups with Brownie and Mousse
These layered dessert cups combine a rich brownie base with light, airy chocolate mousse — all portioned into individual servings that look impressive but come together easily.
Perfect for dinner parties or date night at home, they can be made entirely ahead of time and require no last-minute assembly.
WANT TO SAVE THIS FOR LATER?
We'll email it to you!
We won't send you spam. Unsubscribe at any time.
Why You’ll Love It
- Individual portions mean no slicing or serving
- Make completely ahead — up to 2 days in advance
- Rich and elegant but not overly sweet
- Impressive presentation with simple techniques
- Easy to scale up or down
- Uses a boxed brownie mix to save time
Ingredients
For the brownie layer:
- 1 box (18-20 oz) brownie mix, plus ingredients listed on box (usually eggs, oil, and water)
- Or use your favorite homemade brownie recipe for a 9×13 pan
For the chocolate mousse:
- 6 oz (170g) semi-sweet chocolate chips
- 3 tablespoons unsalted butter
- 3 large eggs, separated
- 1/4 cup (50g) granulated sugar
- 1 cup (240ml) heavy whipping cream
- 1 teaspoon vanilla extract
- Pinch of salt
For topping:
- 1 cup (240ml) heavy whipping cream
- 2 tablespoons powdered sugar
- Valentine sprinkles, chocolate shavings, or fresh raspberries
Steps
Make the brownies:
- Preheat oven to 350°F (175°C). Line a 9×13-inch baking pan with parchment paper, leaving overhang on two sides.
- Prepare brownie batter. Mix according to package directions and spread evenly in prepared pan.
- Bake 25-30 minutes. Brownies should be set but still fudgy — a toothpick should come out with moist crumbs, not wet batter.
- Cool completely. Let brownies cool in pan for at least 1 hour — they need to be fully cooled before cutting.
- Cut brownie circles. Use a 2-inch round cookie cutter (or the rim of a glass) to cut circles that fit your serving cups — you’ll need 8-10 circles.
Make the chocolate mousse:
- Melt chocolate and butter. Combine in a microwave-safe bowl and heat in 30-second intervals, stirring until smooth — let cool for 5 minutes.
- Add egg yolks. Whisk yolks into the slightly cooled chocolate one at a time until fully incorporated.
- Whip egg whites. In a clean bowl with a hand mixer, beat egg whites with a pinch of salt until soft peaks form, then gradually add sugar and beat until stiff and glossy.
- Whip the cream. In another bowl, beat heavy cream and vanilla until stiff peaks form.
- Fold together. Gently fold whipped cream into the chocolate mixture, then fold in the egg whites in two additions — use a light hand to keep the mousse airy.
Assemble the cups:
- Add brownie base. Place one brownie circle at the bottom of each dessert cup or glass (8-10 oz capacity works well).
- Add mousse layer. Spoon or pipe mousse over the brownie, filling cups about 3/4 full — tap gently on the counter to remove air bubbles.
- Refrigerate. Cover cups with plastic wrap and refrigerate for at least 4 hours or overnight to let mousse set.
- Add whipped cream. Just before serving, whip cream with powdered sugar until stiff, then dollop or pipe on top of each cup.
- Garnish. Add sprinkles, chocolate shavings, or a fresh raspberry to finish.
Helpful Tips and Substitutions
Skip the raw eggs. If you’re concerned about raw egg whites, use pasteurized eggs or substitute 1 cup of store-bought whipped topping folded into the chocolate base.
Use leftover brownie scraps. Crumble unused brownie pieces and layer them into the cups instead of cutting perfect circles — it tastes the same.
Make it pink. Swap the chocolate mousse for a white chocolate or strawberry mousse — melt white chocolate and fold in a few drops of pink food coloring.
Shortcut mousse. Mix one box of instant chocolate pudding with 1.5 cups cold milk, then fold in 2 cups of whipped cream for a faster (though less airy) version.
Add raspberry layer. Spread a thin layer of raspberry jam over the brownie before adding mousse for extra Valentine’s flavor.
Mason jars work great. Half-pint mason jars make these portable and giftable — add a lid and ribbon for easy transport.
Serving Ideas
Serve cups on individual plates with a fresh strawberry or raspberry on the side.
Add a small cookie or pirouette wafer as a garnish sticking out of the whipped cream.
Drizzle plates with chocolate sauce or raspberry coulis for restaurant-style presentation.
Serve chilled alongside coffee or espresso after a special dinner.
Present in a decorative tray for a buffet-style dessert spread.
Make-Ahead and Storage
Full assembly: Make completely assembled cups (without final whipped cream topping) up to 2 days ahead — keep covered in the refrigerator.
Brownie layer: Bake brownies up to 3 days ahead and store wrapped at room temperature, or freeze for up to 1 month.
Mousse only: The mousse can be made and refrigerated for up to 24 hours before assembling.
Final topping: Add whipped cream and garnishes within 2 hours of serving for the best texture.
Freezing: These don’t freeze well once assembled due to the mousse texture — make fresh for best results.
Elegant Without Being Complicated
These mini dessert cups prove that impressive presentation doesn’t require pastry school skills.
The combination of dense brownie and airy mousse gives you contrasting textures in every bite.
Make them ahead, pull them out of the fridge when you’re ready, and take credit for a dessert that looks like it took all day.
WANT TO SAVE THIS FOR LATER?
We'll email it to you!
We won't send you spam. Unsubscribe at any time.