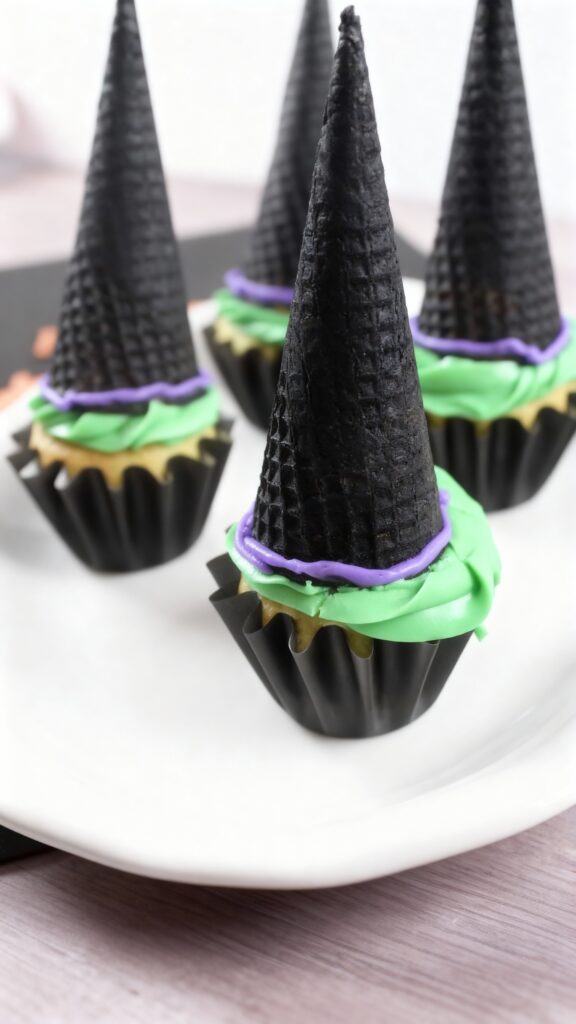
Witches Hat Cupcakes With Chocolate Cones Recipe
You’re about to discover one of my favorite Halloween treats that never fails to spark joy at parties – adorable witch hat cupcakes that combine rich chocolate cake with whimsical chocolate-dipped ice cream cones. I’ve spent years perfecting this recipe, and I’m excited to share my tried-and-true tricks for creating these spooky-cute desserts. From achieving the perfect cone coating to preventing frosting mishaps, these bewitching treats will cast a spell on your guests and have them asking for the recipe.
Kitchen Equipment and Tools Needed
Before you begin creating these adorable Halloween-themed cupcakes, you’ll want to gather all the essential baking tools and equipment.
You’ll need a standard 12-cup muffin tin, cupcake liners, a hand or stand mixer, mixing bowls, and measuring cups and spoons.
I also recommend having a cooling rack, piping bag with tips, and an offset spatula for decorating.
Ingredients List
Success in making these delightful witches hat cupcakes starts with gathering all the right ingredients. You’ll need quality items that’ll transform ordinary cupcakes into spooky Halloween treats. I’ve tested these measurements extensively in my kitchen.
- 24 chocolate ice cream cones
- 2 boxes chocolate cake mix (plus eggs, oil, water per box instructions)
- 3 cups chocolate frosting
- 1 package black fondant or modeling chocolate
Making the Chocolate Cupcakes
The first step in creating these magical Halloween treats is preparing perfect chocolate cupcakes as the foundation for our witches’ hats.
Preheat your oven to 350°F and line a muffin tin with paper liners.
Combine dry ingredients in one bowl, wet ingredients in another, then mix them together until just blended.
Fill each liner 2/3 full and bake for 18-20 minutes until a toothpick comes out clean.
Preparing the Buttercream Frosting
While your chocolate cupcakes cool on the wire rack, let’s whip up a dreamy buttercream frosting that’ll serve as the perfect “glue” for our witches’ hat decorations.
- Beat 1 cup softened unsalted butter until light and fluffy (about 3 minutes)
- Gradually mix in 3 cups powdered sugar, one cup at a time
- Add 2 teaspoons vanilla extract and 2-3 tablespoons heavy cream
- Mix on medium-high speed until smooth and creamy (about 5 minutes)
Creating the Witch Hat Cones
Now that your buttercream is ready to go, let’s tackle the most magical part of these spooky treats – crafting those pointy witch hat toppers!
Dip each sugar cone into melted dark chocolate, making sure to coat evenly. While the chocolate’s still wet, sprinkle with black sanding sugar for a mystical sparkle.
Let them set upright in a foam block for 15 minutes until completely hardened.
Assembly and Decoration Tips
Since your chocolate-dipped cones are now ready, let’s bring these bewitching cupcakes to life!
Place each cone carefully on your frosted cupcakes, then add these magical finishing touches:
- Wrap a thin fondant or ribbon “band” around the cone’s base for a hat brim
- Pipe tiny stars with orange frosting along the brim for sparkle
- Add candy sprinkles or edible glitter for mystical shimmer
- Create tiny buckles using yellow fondant or metallic dragées
Storage and Make-Ahead Options
These adorable witch hat cupcakes deserve proper storage to maintain their enchanting appearance and delicious taste!
| Storage Method | Duration | Tips |
|---|---|---|
| Room Temperature | 2-3 days | Keep covered in airtight container |
| Refrigerator | 5-7 days | Bring to room temp before serving |
| Freezer | Up to 3 months | Wrap individually, thaw overnight |
You’ll get the best results by storing unfrosted cupcakes and decorating them within 24 hours of serving. I’ve found that the chocolate cones stay crunchiest when assembled just before presentation.