Beginner Hiking Photography Gear Guide
This post is written by Marga. She is a travel writer and photographer at Discover-Portugal.com
When hiking, you will most likely come across some fantastic spots!
And nothing beats photographing these landscapes in real life.
But where to begin? What do you bring, and how can you choose the right camera?
I started my photography journey in 2006 when working as a flight attendant, and in this post, I will outline some tips for choosing photography gear for beginners and tips to capture the beauty on your hikes.
Choosing the Right Gear
I didn’t have much of a budget when I started and went for a basic DSLR.
Within 6 months, I upgraded to a semi-professional kit, and one and a half years later, I had my professional setup ready.
This worked as I was getting jobs as a photographer, and it paid for all my gear.
But when I go hiking, my setup has changed drastically.
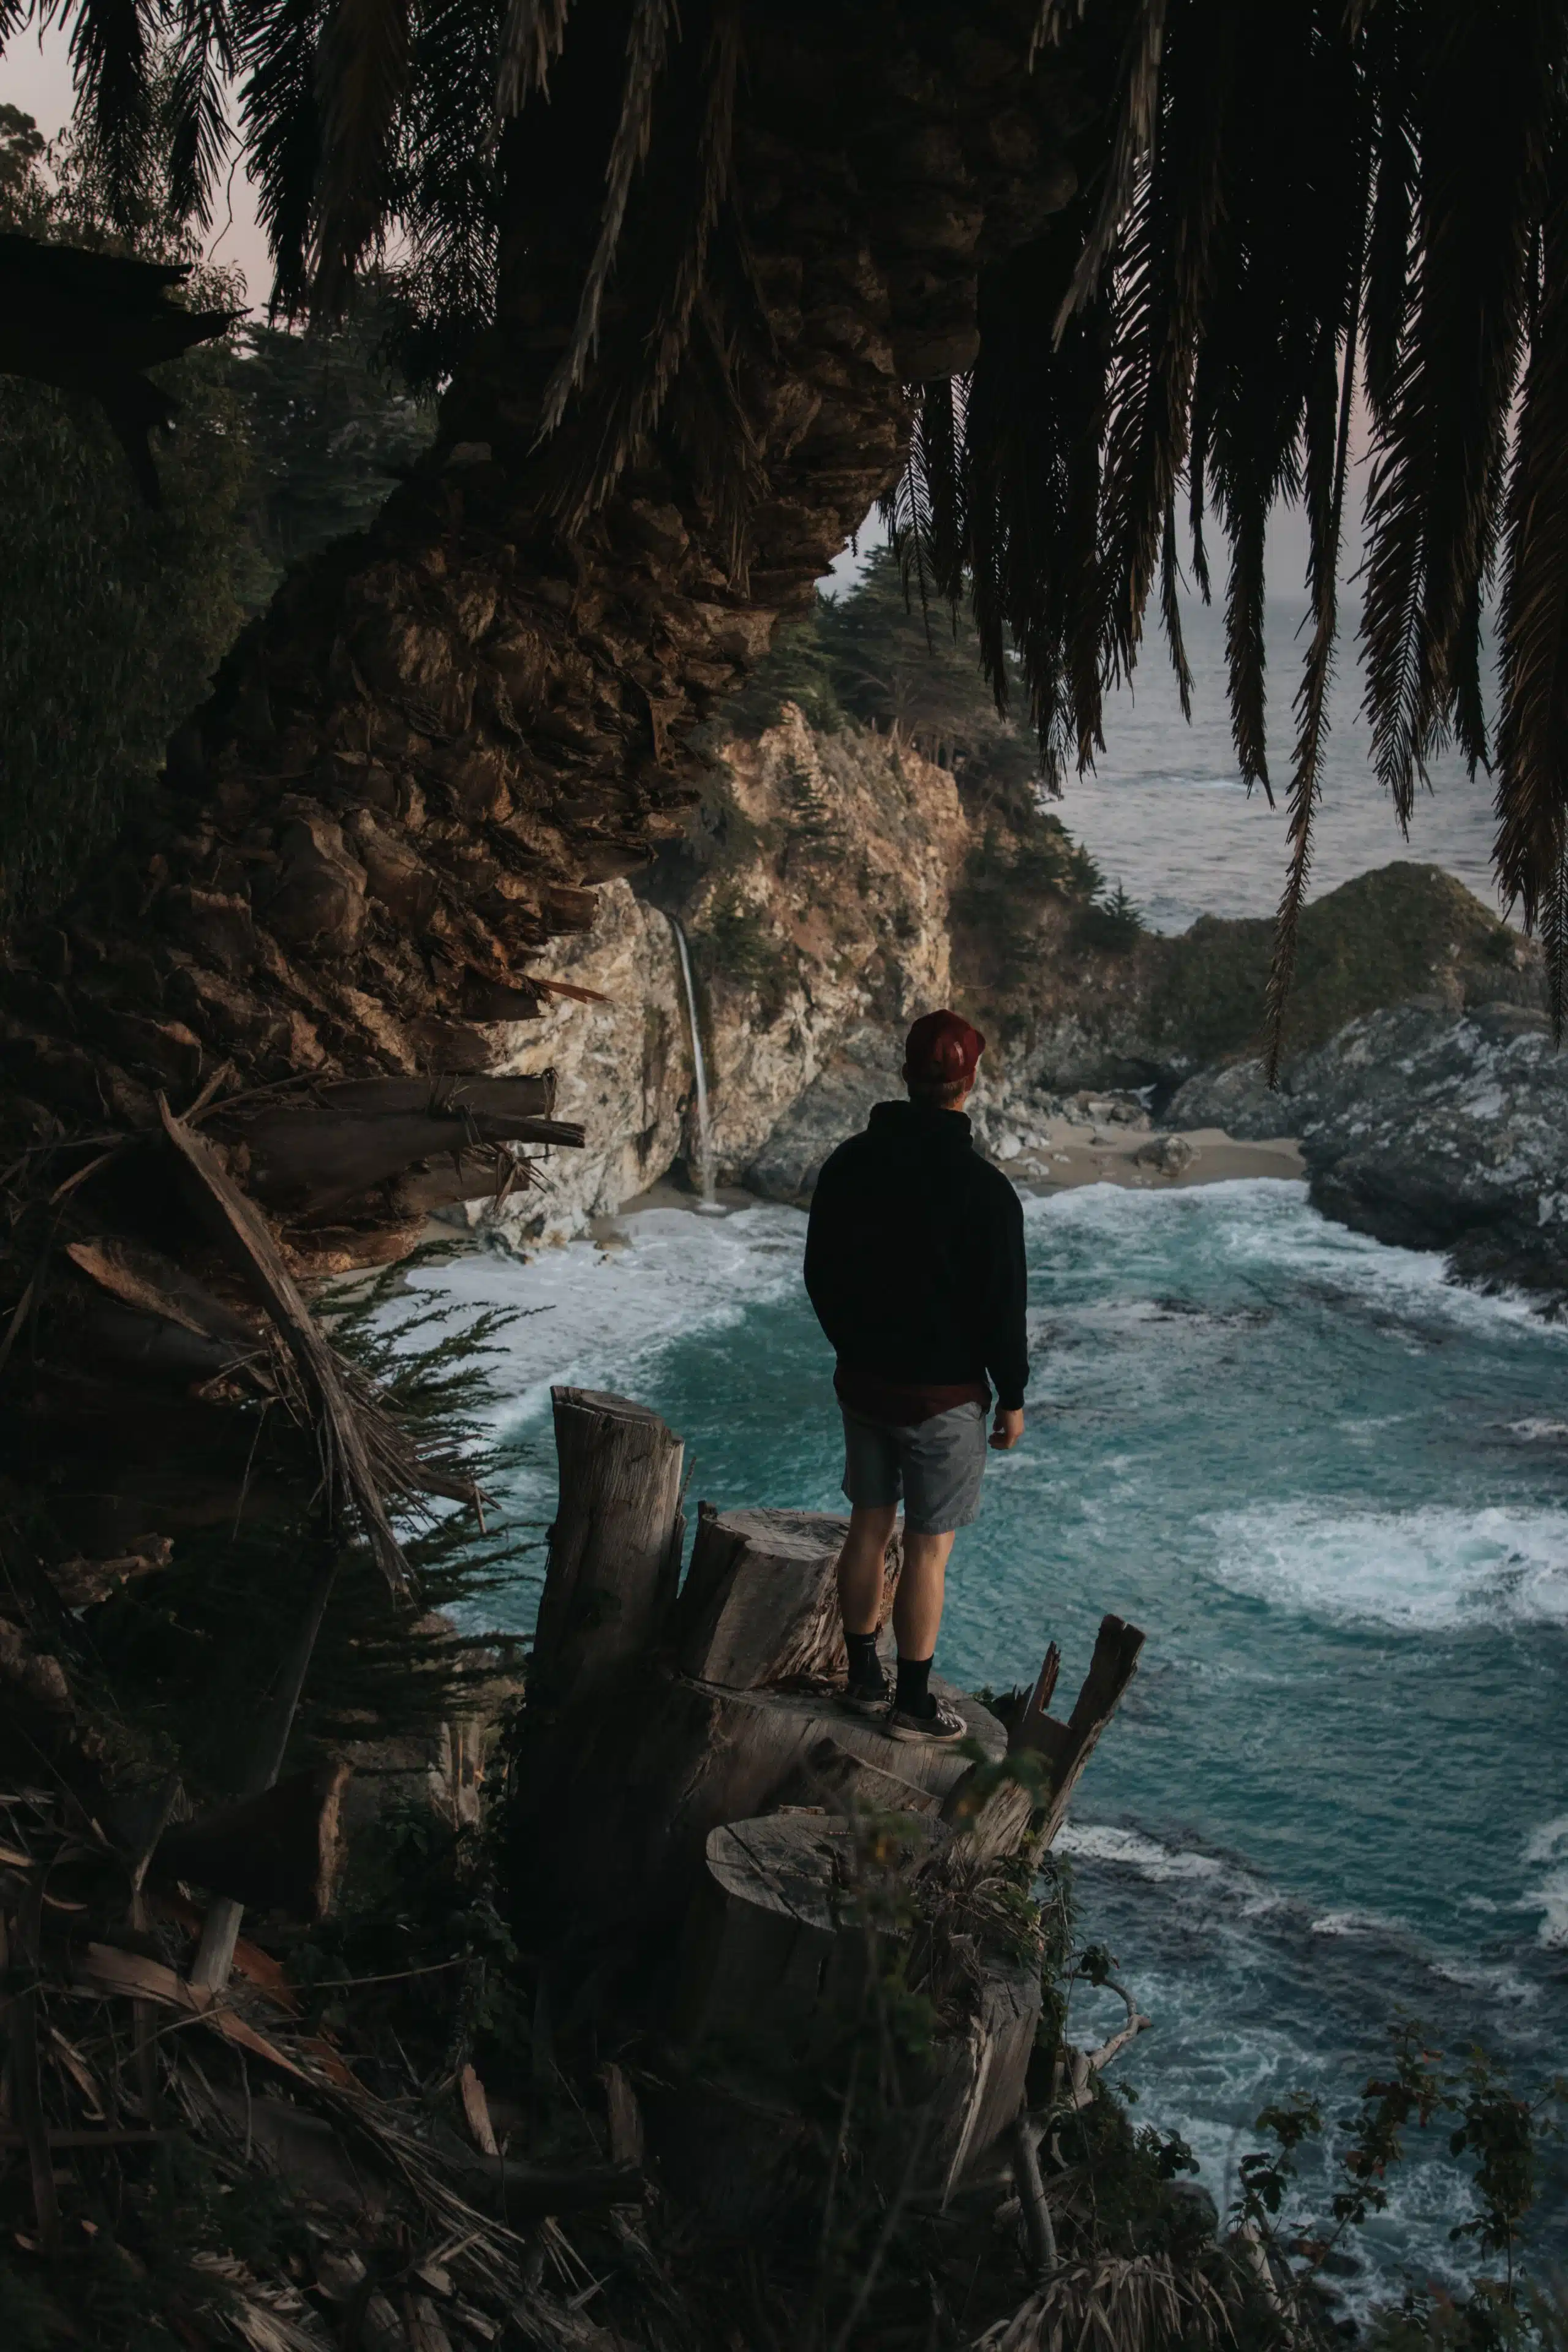
I only brought a lightweight camera (I’ll tell about it later in this post) and an iPhone on my recent hike on the PR8 Vereda da Ponta de São Lourenço in Madeira.
This way, I could keep my hands free and protect my back from heavy gear.
So, let’s look at what gear will be helpful when hiking!

Best Camera For Hiking
I shoot my portrait sessions in Lisbon with my trusted Canon 5D Mark IV. I trust this camera inside out, but boy, is it heavy!
I don’t want to carry heavy equipment when I’m hiking, so I changed to the Sony A7RIII which is mirrorless and much lighter, that makes it perfect to take on hikes.
I would buy a camera body separate from the lenses, depending on the kit.
Both cameras also have a video function, but I often use my iPhone 15 Pro to do the video work.
I am not using these video clips professionally, and I like using my phone.
To help stabilise my phone, I use a DJI gimbal. It’s compact and lightweight and perfect to get the best video angles.
Sensors
Every camera has sensors, and you’ll see crop frame cameras and full frame cameras on the market. The difference? The full-frame sensor allows more light to come than a cropped sensor.
For most beginners, a crop sensor will be sufficient.
The full-frame sensor, however, will offer sharper images in low light, so you might want to upgrade later.
If you photograph mostly in low-light conditions from the start, you can prioritise this upgrade.
Lenses
First of all, I suggest seeing what your aim is during your photography hike. Do you want to capture landscapes or wildlife? Are you photographing during the day or with low light?
I’ve always liked prime lenses. These lenses have a fixed focal length and cannot zoom in or out. My trusted lenses are 35mm f/1.8, 50mm f/1.4 and 85mm f/1.4. These are great for day-to-day use.
But if you want to capture animals, you might be better off with a telephoto lens. My go-to zoom lens is the Canon – EF70-200mm F2.8L IS III USM.
The aperture is an important measure to keep in mind when buying lenses.
The lower the aperture, the more expensive the lens, but it performs better in low-light conditions. A low aperture also gives you that dreamy background. So, your subject is clear, and the background looks faded.
A higher aperture is used when photographing a landscape, and you want everything to appear sharp. Most lenses have an aperture up to f/22.
Tripods
The last thing you want to do when hiking is carry too much, especially when walking on rugged terrains. Often, I leave my tripod at home, but there are moments when a tripod is required. An example is when you want to use long exposures.
Did you see these incredible images of the Northern Lights? These can only be achieved by taking a long exposure (of 30 seconds, for example) and using a tripod.
Tip: invest in a remote control to act as your shutter or set a self-timer. This will help avoid moving the camera when pressing the shutter button.
Another great subject to photograph with a long exposure is waterfalls.
Walking the PR 6 Levada das 25 Fontes in Madeira, I was surrounded by waterfalls!
Using a long exposure will give you that dreamy look of the flowing water. I did not carry a tripod, and it was a missed opportunity.
Instead, I used rocks to keep as still as possible, but the results with a tripod would be much better! The camera shake is evident in my images… so lesson learned.


There are some great small tripods out there made from carbon fibre.
A great choice would be the Manfroto BeFree Carbon fibre Travel Tripod or, even smaller, the PIXI EVO 2-Section Mini Tripod!
Filters
And that leads to the following questions, what if it’s too bright outside to use a long exposure? Then filters will come in handy.
ND (Neutral Density) filters reduce the amount of light that enters your camera.
This makes using a slow shutter speed easier without too much light coming in. It will also help with controlling the depth of field of the image.
Polarising filters are slightly different, as they only allow light waves of a particular polarisation to pass through. This will help avoid lens glare and create vivid colours in your image.
You can even use an ND filter and a polariser simultaneously. In the example of photographing waterfalls, this would be the ideal setup. Be careful when using ultra wide-angle lenses, the filters can create an unwanted vignette.
Tip: Both these filters protect your lens. If you prefer not to use any ND filters or polarisers, ensure that you use a protective filter as a minimum!
Camera bags
To say I´ve used one of two camera bags over the year is an understatement.
On average, I used to buy a new camera bag every year.
I photographed many weddings, and the bags would not hold up with their use. On the other hand, I also travelled a lot, meaning I often carried two bags: one for my camera and one for my gear. That was until I met the camera bags made by WNDRD!
I bought my PRVKE bag in 2019, and it’s still in full use! Aside from my cat scratching the bag a little, there are NO signs of use.
They recently changed the style of the PRVKE, but they have many more styles available. I went for the backpack because there is enough space for my camera equipment and clothes while travelling!
There is a tripod holder and small pockets for CF cards and batteries, and it fits my laptop. They also sell sling bags, duffel backpacks and hip packs. All water resistant and very durable.
One of the reasons I went for their designs also is that it does not “scream” I am a camera bag! You might not always be in a safe area or leave your gear in the car (try to avoid this!). The last thing you want is to make it even easier for thieves if your bag is a recognisable “camera” back. The PRVKE looks like an ordinary backpack, and I´ve travelled with the bag on many continents.
It is also an option to use camera cubes if you already have a good bag. The packing cubes often come with many dividers, so you can quickly adapt the cube to your desired configuration. Peakdesign is my go-to brand for cubes!
Power and storage
Even when you think you might not take a lot of images, it’s always a good idea to bring extra batteries during your hike.
Once back in the room, I charge all used batteries on one or two chargers. Most cameras come with one charge, and I usually buy a second charger to charge the batteries simultaneously.
I usually carry 4-5 CF or SD cards (depending on which camera I bring), so I can always take more images. RAW files take up more space, capturing exactly what the sensor sees. JPEGs are smaller as they are compressed. Information that might be lost in a JPEG could be recovered in a RAW image.
It’s also time to make a backup on my computer. I store everything on the cloud these days, as my external hard drives were stolen a few years ago… bye bye years of images 🙁
Now, I play it safe using a cloud system and an external hard drive. When travelling, I use a protective case. SanDisk Extreme and Seagate One Touch are great options.
I have a separate cube in my backpack to store all cables, batteries and accessories. This way, I never have to search for any equipment.
Best Ways To Carry Camera While Hiking
The backpack is great for travelling and hiking. Still, when taking photos, you should check out some other camera-carrying solutions. When photographing weddings, I used a harness.
These were great as back support, and I could carry two cameras simultaneously while both were ready to shoot.
A harness is great, but it can also feel very tight when wearing jumpers and jackets. I am already carrying a backpack, and the harness feels less comfortable.
Therefore, when hiking, I prefer using a clip. These can easily be clipped to a belt or the strap of your backpack. It’s the most accessible way to carry your camera while keeping your hands free.
Overall tips
When hiking, you might be wet and dirty! When hiking in Madeira, we entered many tunnels (with headlamps), and sometimes it rained. Protecting your gear is a must!
Therefore, using a clip and a secure carrying system is vital.
Sometimes, you might have to crawl into a tight space or sit to crawl down. A lens protector is also a thing to not save money on!
When we hiked Pico Ruivo in Madeira, I was happy to keep my hands free while hiking. But as I stopped every few minutes to capture the landscape, I needed to have my gear in an easy-to-reach position.

Bring a cleaning cloth to remove smudges and water drops.
If you have sand or dirt on your lens, clean it before using a cloth. Otherwise, you will scratch the lens protector.
Try to avoid changing lenses when the weather conditions are bad to keep the inside of your camera as clean as possible.
After an adventurous hike clean your gear. If you know the trail might be dusty, snowy or rainy, you can also bring a camera shell to protect it even more.
Recommended gear for beginners
Finally, a note on which gear to buy (or not to buy).
When you’re starting your photography journey, buying a first camera can be VERY overwhelming. The first thing I always ask people is what your budget is and what you want to photograph.
You can start looking for what works best for you within these parameters.
I´ve seen people with expensive gear not knowing how to use it and people with cheap tools that took stunning images. It’s you as the photographer that makes all the difference! A camera and lens might make your life a bit easier.
If you’re looking for a mid-range camera, the Fujifilm X-T5, Fujifilm X-T30 II, and Olympus OM-D E-M10 Mark IV are great. They are very compact and lightweight.
When photographing nature, the Sony Alpha 7R III with a zoom lens is fantastic if you have the budget. The Panasonic Lumix DMC-FZ300 is excellent when on a budget. For fun, I love capturing videos with my GoPro 5!
As you can see, it’s not just a camera you’ll invest in. It’s also lenses, filters, protective gear and bags. Start easy before splurging on things you don’t need. Some camera shops allow you to rent gear, so test it out and see if you like it!
Also, go for quality, durable gear that lasts on your hikes.

- Beginner Hiking Photography Gear Guide - February 21, 2024
Read More
140+ Hiking Instagram Captions That Reflect Your Outdoor Passion
19 Hiking Sandwiches Ideas – Say Goodbye to Boring Trail Meals